She Blooms in Ink : handmade book
During my Summer Holidays (Dec-Jan) I did a number of lessons from Tam's She Blooms in Ink online class. I enjoyed them immensely and completed 4 of the lessons on A3 watercolour paper
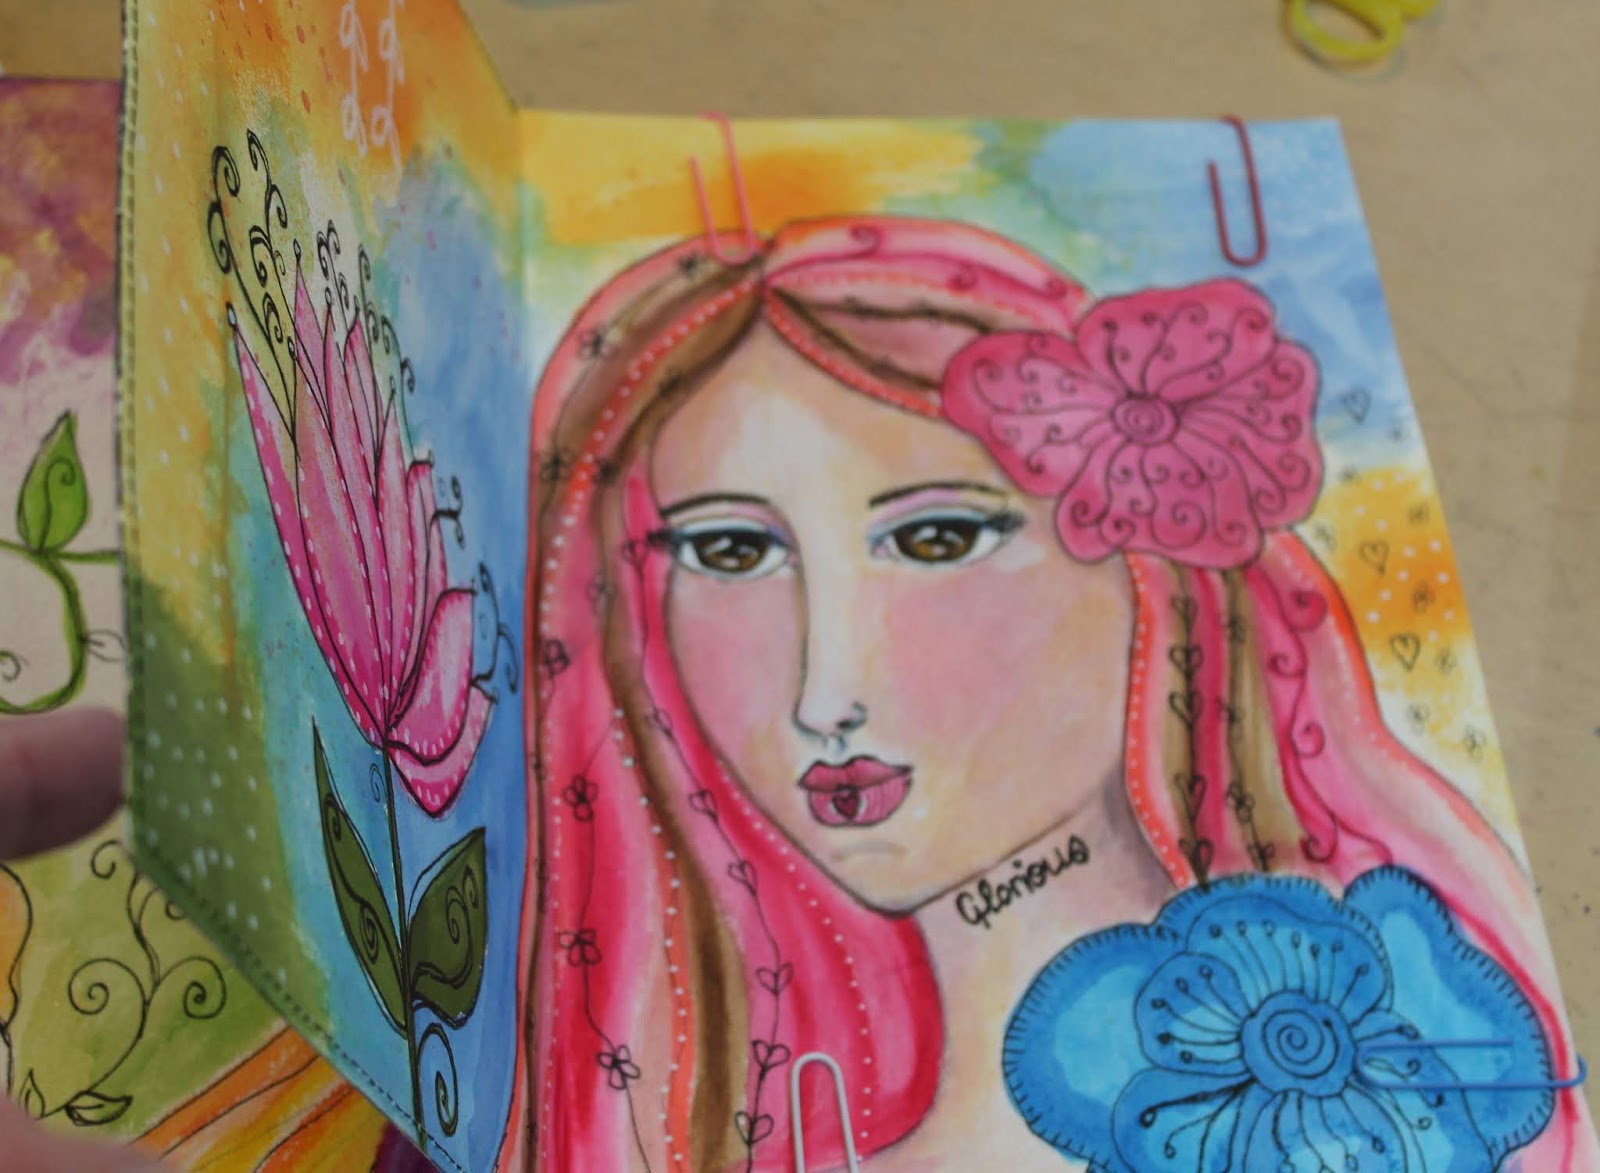
I began on separate sheets because I always intended to sew them together as a book. This month, I decided to complete a couple of the other lessons and finish this project. These are the last 2 faces I've recently shared from this class on the same paper as the previous lessons.
My original thought was to make a star book {although much larger scale than the ones I've made in the past♥} so I knew I needed an uneven number of spreads- these have 7.
I wanted to sew my pages together as a feature, and black thread was the obvious choice as a strong colour to edge the pages and to tie in with the black pen work. I stitched each page back-to-back using my sewing machine
I decided against sewing the last 2 pages back-to-back because then I can't fold the book down in traditional format
One option is to cut the last folded spread apart to use as covers, or to add extra covers - and ties for closure are a feature of the small books
In the end, I decided I would like to make one more face, and just have blooms on what will be the back cover. I decided to work with the blank watercolour paper which shows once the book is folded down together and began with the front cover
I thought the back just needed some blooms on part of the cover so I began with sprays and inks before adding the pen work
To finish I sprayed the front and back with matte varnish for some added protection of the cover art, and then edge stitched with black thread
I like seeing the exposed folds in the spine
And I can still have it out in star format if I wish ♥
I am very happy to see this project completed and while I can always refer back to lessons, it's great to feel like I actually finished a class!
Tam's She Blooms in Ink online class is now available for self study with life long access. You can register HERE. See all my posts about this class HERE and my Flickr album HERE.