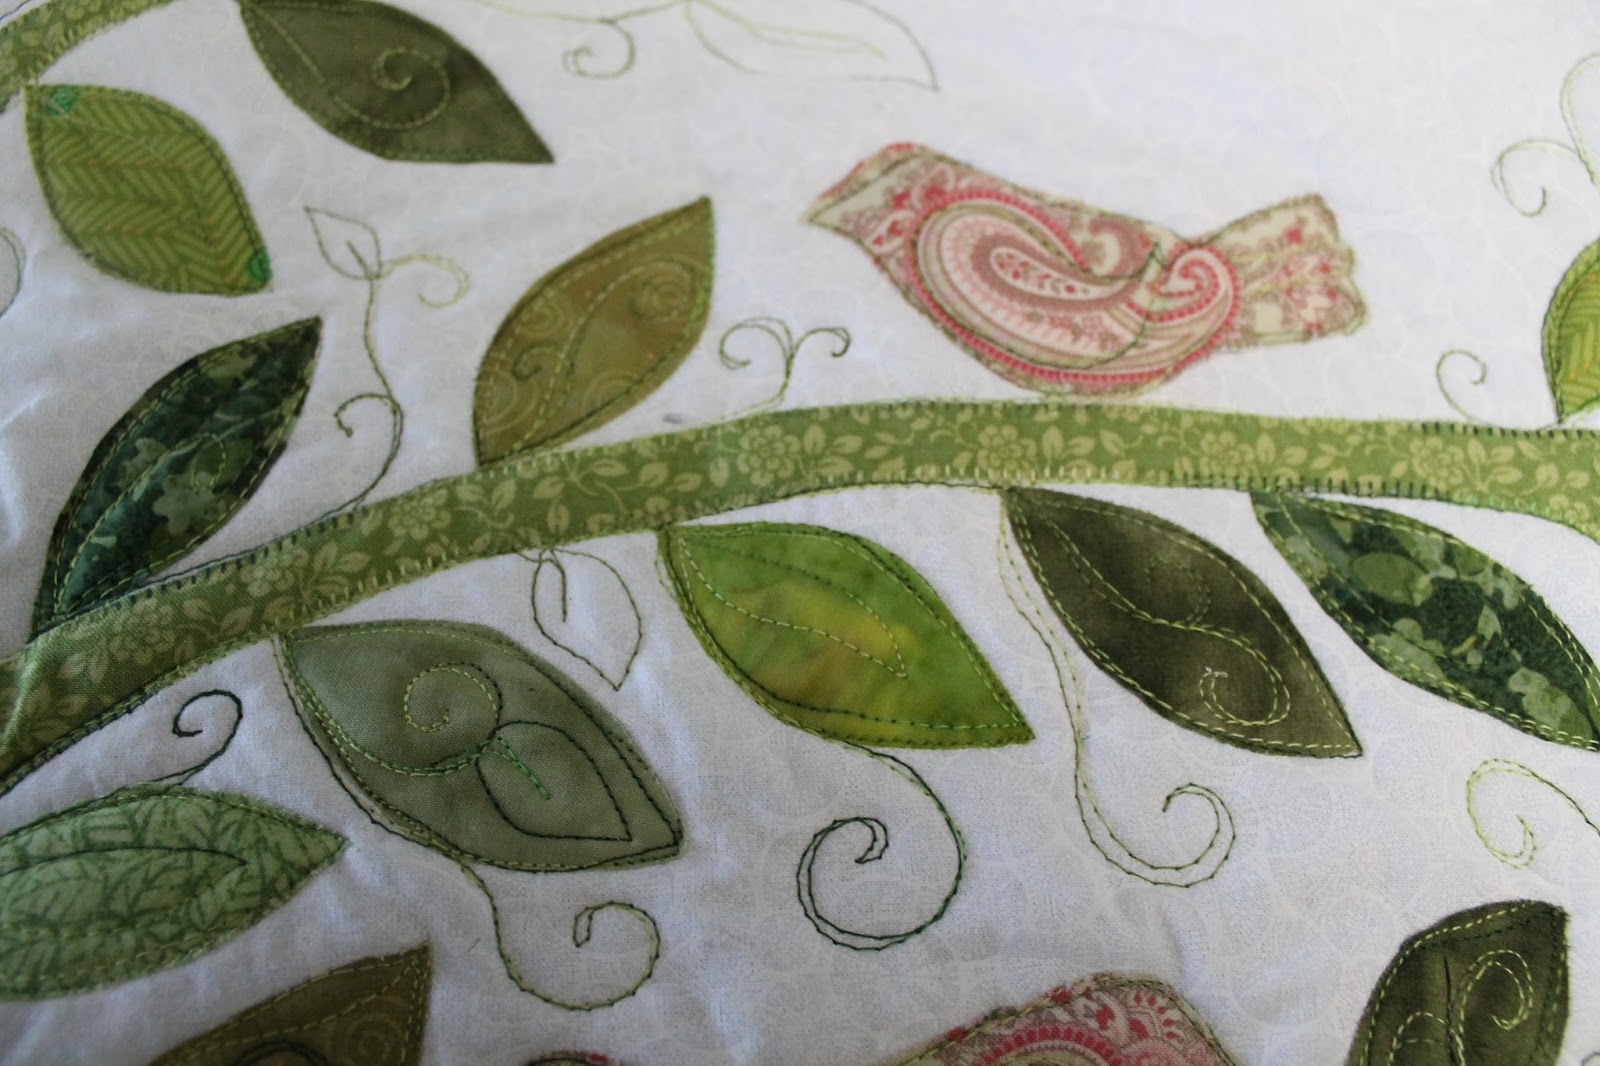
A new first baby arriving in our extended family = an opportunity to make a new quilt. I was able to make this one ahead of time because we knew a little girl was coming. I already had a fabric I wanted to use for the border, and I found that the mum-to-be likes pastels, so instead of going with my first thought of brights, I found this lovely paisley fabric which meant I was able to fussy cut the bird shapes with the pattern for wings. Also decided to add a few flowers fussy cut from the border fabric
I fused and appliqued the tree and borders on first
and then the words
Then I layered the top with batting and backing
I attached the remaining elements by stitching through all 3 layers so I was quilting at the same time. I free-motion stitched a double-loop for the background quilting
My Janome 8200 QC machine is FAN-TAS-TIC. Love it more with every project ♥ Here are the leaves/birds before and after appliquilting
and then I added the background quilting around
This is a view of the back
You MUST label every quilt you make (I used this Sharpie fabric marker)
And here is the quilt complete
Click on any photo to see it larger.
Loved having cuddles meeting her yesterday - one day old :-)
Since I only have boys in my family, I also had to make a very girly pink card
and gave her my favourite Fairy Tale book
Jane Ray is a gifted illustrator - if you don't know her work, here's a spread from this book :
Happy creative weekend to you.
As I shared in my previous post, there were 2 options offered for the Life Book 2016 lesson from May with Renata Loree. I did the first few steps of the lessons together by adding watercolour to 2 different pages.
Next was to add the mandalas using a couple of different stencil options with gesso followed by a layer of spray on top.
My first completed Mandala girl looks like this :
Next up was to attempt a trickier face angle. Before I started to work on the next with the turquoise flower mandala, I sprayed TWICE with fixative to try and prevent the dylusions ink coming up through (let dry before you spray and between layers) NOTE even this was not successful...read more below
The other face demonstrated was looking upward - I tried and tried but it just looked weird, so I thought about what I really wanted from this piece, and decided it was about listening to what's inside my heart and closed eyes would do the job
As you can see, even 2 layers of fixative is not the answer to stop dylusions bleeding up but I quickly made my peace with it and love her face. I have enjoyed using stencils for hair, so went with gold metallic flowers this time - makes me think of Klimt.
I added some more pink around the page and from there the art took on a life of its own and bears no resemblance to the lesson! Hence my title with (sort of!). Love that I can add my own artistic voice to the Life Book lessons.
I decided I wanted to repeat the garden theme, so lay down a floral mask along the bottom of the page and then sponged over with green acylic.
And there need to be butterflies in my garden - they are symbols of Transformation... and some machine stitch also needed of course
Then it was time to add words
I've been thinking a lot lately about transformation from within.... self-love and development
Often I use found words from a large print book, but this time I used a Courier font that looks most like a typewriter - entered the words to a Word document, and then printed them onto an old book page and tore them out. Was happy for the bleed of the ink this time which meant I could layer a bit of the colour over the words by dragging the gel medium across. I totally love how she turned out
Click on the photo to see it larger, or go HERE to see my Flickr album of all my Life Book 2016 projects. You can see all my posts about Life Book this year HERE.
Here they are together in my art journal
Been wanting to have some time to attempt this May Life Book 2016 lesson from Renata Loree. She actually demonstrated 2 options of women with Mandalas as the focal, and I thought I might attempt both. With that in mind I started by adding my watercolours to 2 pieces of watercolour paper - since I am working in a recycled book this year, I need to do these pieces separately to get the lovely watercolour effect, and then they will be glued in to my book on completion.
Next was to add the mandalas - since I don't have a mandala stencil as such, I used a couple of different stencil options, with gesso followed by a layer of spray on top.
First up was to make my sprayed area look more like a mandala. I added some green gold paint to the mandala and some touches in the background, and you can see I've already added some gesso to the area her face will be. Click on any photo to see it larger.
I started sketching the face, and this young girl appeared
At this point I decided to add some more stencils for background interest and inky paper for some extra variety
White and gel pens add important details to her face, hair, and on the mandala
Because my watercolour paper was smaller than my book page, I was able to machine stitch around the outside to add a bit more texture and add my chosen words directly to the background page
before gluing her in completed
Click on the photo to see it larger, or go HERE to see my Flickr album of all my Life Book 2016 projects. You can see all my posts about Life Book this year HERE.
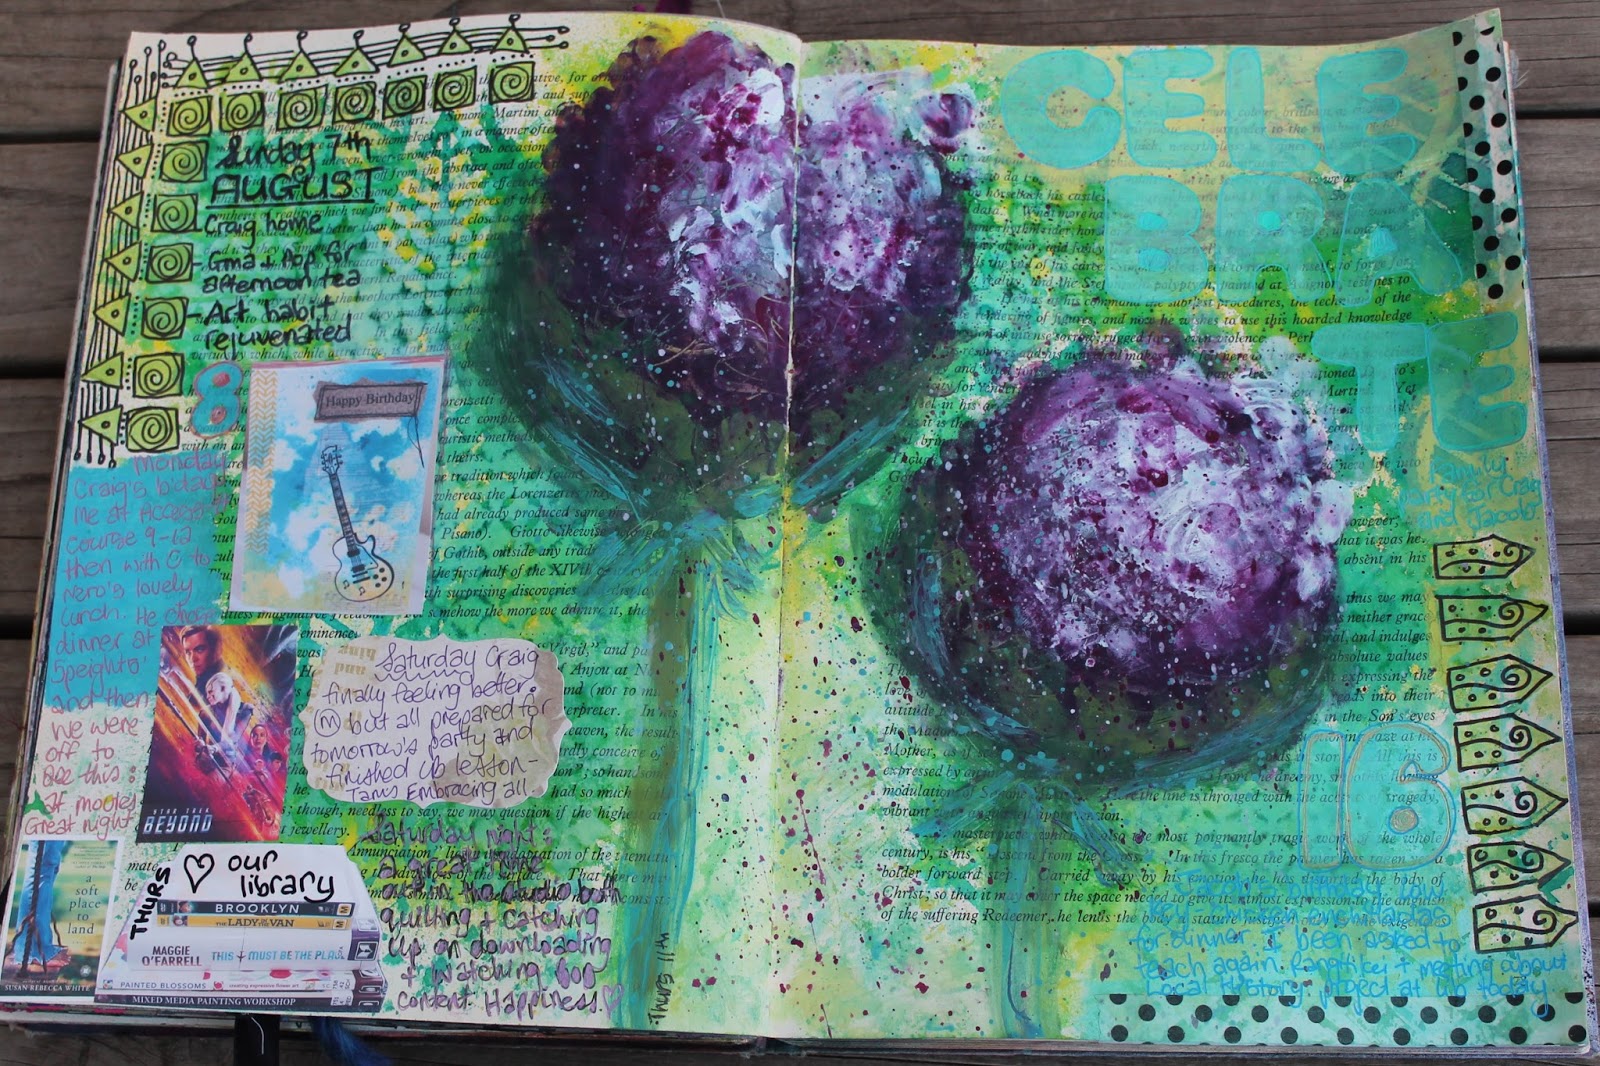
Began this spread by laying down some colour using dylusions sprays and a couple of fav stencils. Next day when completely dry I sprayed with fixative hoping I can work on the pages without that ink moving
The prompt I used this week from Documented Life was "Add a border". Since I had my handmade foam printing plates out the other day, I rediscovered this one :
Did some fun doodling and added my first entry for the spread
Then I remembered that I really want these spreads to be arty, so next I jumped into a Life book bonus lesson - I shared the details HERE. The first layer was finger painting and unfortunately this is proof that the fixative didn't work entirely as well as I had hoped
but I still LOVE how the flowers turned out and became a very arty focal for the spread - I must remember to do this (big art on the spread) MUCH more often....
NOTE - after I did this, I watched a lesson with Effy in Book of Days and she suggests 2 layers of the fixative since Dylusions sprays are so easily activated. Will try that next time.
It was another week of birthdays for my husband and eldest son who turned 16. I made this guitar card for Craig - shared others from similar bases HERE. Although made completely independently of this journal spread, it blends very well with other colours on the page.
Added another border with the same printing plate in the bottom right corner
and here's the spread complete. I didn't change the colour of the flowers from the earlier photos, just took the final photos outside in daylight!
You can see my Flickr album with all my daily journaling spreads HERE. You can find out more about DLP 2016 the unPlanner HERE.