Thursday, July 28, 2016

DLP (Add texture and Use a stencil) and daily journaling

As with my last daily journaling post I decided to use the Documented Life Project prompts to create the backgrounds for my daily journal pages. The first two prompts for July were "add texture in any way" and "use a stencil". When I turned the page in my journal, I discovered I had cleaned off stencils there - winning before I even start :-)
I began when I was preparing my talk for the Rangitikei Country Quilters - they wanted to hear about my mixed media art journey and gelli plate printing, so I decided to start this page with gelli plates and stencils to share with them how I build layers. 
Love the combination of lemon and pink - the plate had a mix of pink and white so it's nice "texture" (prompt) look there as well. When I was looking through my stamps the other day I rediscovered these - will be VERY useful for Daily journaling
I wanted to also show off my mini gelli plates in use again, so used my circle with that circular journaling stamp.  I pressed the stamp on the gelli plate to make the impression and then stamped that on my background (bottom right left page) and then stamped the small gelli plate (the more filled in versions)
Also used my small square for a bit of texture (bottom left) and my triangle to create a border along the right. Click on the photo to see it all larger. Orange goes great with yellow and pink don't you think? Our days are very cold, dull and wet at the moment so I needed to create some happy colour in my journal. Shared this spread at my talk, and then we headed away for a week in Auckland. 
I tried to journal while we were away, but because I like to add photos it was a bit tricky. I did some with my lovely moonlight gelly roll pens and left some gaps to add the photos later, but I got a bit frustrated with that and I've been playing catch-up in my journal these last few days. Here's my second page just about complete, but there's room for some artful additions. 
First I thought I'd add some modeling paste (texture) through a stencil beside my penguins :-)
I had come cool tags from recent purchases which I decided I'd like to use this time as my version of Pocket Art Cards : I like the circle and the edge design on these (and the lovely textured background of my page!)
I almost threw this vellum tag overlay out and then realised how perfect the word was for this prompt!!
This is how they ended up : loving the machine stitching and fibres. 
Behind this one I used the plainer cardboard tag from above for journaling
I had a lot of fun with the cut-out-circle tag. First I needed to glue down elements that would be revealed once the tag was lifted as below 
On the back of the tag you can see I used a bit more of that modeling paste through the stencil onto a bit of stitched inked card. And here's how it looks with the tag in its usual position. I really enjoy how all those elements combine.
Here's my finished spread - it's daily journaling spread #22 this year. 
You can see my Flickr album with all my daily journaling spreads HERE. You can find out more about DLP 2016 the unPlanner HERE.
I am happy to say I now have a FB Artist page if you prefer FB following :-) Enjoy the rest of your week.

Saturday, July 23, 2016

New FB Artist Page

I've had a personal presence on FB for a number of years but since I shared family stuff as well as my art, it was my practice to refuse FB friend requests....
I have just created a FB Artist Page so if you would like to follow me that way you now can.
I will always create a link there when I post on my blog, so that's a different way of keeping up to date with what I'm up to.
You can always find the link there in my right side bar - would love to see you visit.

Wednesday, July 20, 2016

Mixed Media Projects revisited

I was asked to speak to Rangitikei Country Quilters on Saturday about my mixed media art journey. 
It was such fun to pull out some of my older projects and I thought you might like to see a selection here as they may be new to you. You can click on any project title and it will take you to the original posting.
These first four are from when I first started blogging in 2010. Left Pansy book, Front Foiled velvet bag, and Right Lutradur gift box
Below is Garden Fairy using fabric paper technique
One of my favourite projects of all time is my Indian wall hanging which began life as a Tyvek wall hanging which I shared in 2011
but then I transformed into this mixed media piece. Click on the photos to see them in larger detail.
These are a couple of favourite framed pieces - this first one now lives with my mother
Celtic Cutwork
Velvet Night garden
I shared some art journals. Left December Daily and Right Journal of our South Island holiday - featuring white gelli plate printing on the black pages.
as well as my 2015 art journaling in the form of Documented Life and Life Book classes
I think I can sneak my Fabric Banner into this post as an older project - completed June 2014 (I have been asked to teach this to a group later this year)
You can see why I had problems deciding on my 6 favourite projects for my bloggiversary :-)

Sunday, July 17, 2016

DLP (Use tissue paper and Incorporate watercolours) and daily journaling

I've decided to take a different approach to the DLP prompts and use them as backgrounds for my daily journal pages. I had a couple of prompts which I hadn't done from June so I decided to start my next daily spread by scribbling with watercolour crayons and then blending with water
Next up was to add some tissue serviettes - tear the back 2 layers off and then just glue the top layer to your base - the serviette will blend into the background, especially if you have torn the edges. Just keep your touch light as you brush it down so it doesn't tear - although I don't really worry about those imperfections too much.
You can also see that I did some stamping and doodling with watercolour crayon. Dip the end of your crayon in water before applying to a stamp for lovely soft effect.
You can also dip your crayon in water and doodle with it
You would get a different effect on watercolour paper, but this still makes me happy working on my recycled book paper. I think what I'm really going to enjoy about this idea is that if I work ahead in my journal, I can apply materials and ideas as I work on other pages. The below is from my paint over collage lesson
and you can see I was able to apply leftovers to this spread 
After a week of a bad headcold and feeling like doing barely anything, on Saturday morning the spread was looking very pretty and it's nowhere near done :-) Click on photo to see it larger.
Although I anticipate that I may make less Pocket Art Cards since I am using the prompts for backgrounds, I wanted to use watercolours on watercolour paper. I cut two pieces the "official" PAC size of 2 1/2" x 3 1/2" - it is really challenging for me to work that small. I was keen to use gel medium as a resist so began with that for both before adding a bright watercolour wash on the top. Both of the butterflies are serviettes. 
Those 2 challenges met, the ListTen prompt for June was "words I totally overuse" - so I added one of mine "Awesome" and finished that PAC with a stitched edge and fibre additions of wool/sari ribbon. The black additions to the yellow card are rub-ons and I love how I left the butterfly and sari ribbon hanging over the edge. I also finally got myself a punch that rounds corners. Highly recommended...
I started pruning my roses last week and managed a small pretty bunch for the table - last of the season ♥
Here's the completed spread.
You can see my Flickr album with all my daily journaling spreads HERE. You can find out more about DLP 2016 the unPlanner HEREIf you are interested in other ideas for using watercolour, check out my daily journaling posts in my Watercolour journal in 2014 HERE

Friday, July 15, 2016

LB2016 : Dancing with shadows....Again!

The last lesson I shared from Life Book 2016 was a paint over collage technique with Tam. When I was searching for my imagery, I couldn't quite decide between 2 faces, and chose the larger to go with my fantail. See the outcome of that HERE.
I was still very drawn to the other, smaller face, so quite quickly realised I'd be having another go at this lesson, and this time I'd use a favourite motif in my work - the butterfly. First layer of collage with clear gesso layer
I thought she could be a bit less realistic than my other lesson
and that she would have butterfly wings :-)
It was fun using stencils again as layers for her wings as well as her hair
Glitter was added next, and then silver iridescent paint. 
Lovely layers as the background progresses
I am happy with her sweet face. I call her my butterfly angel version ♥ all the sparkles 
- there are glimmers of glitter in the layer below the silver on the wings, as well as the sheen of metallic paint in the background layers and on her skirt. 
She was almost done here but once I walked away and came back to her it was obvious what she was missing...
Click on the photo to see it larger, or go HERE to see my Flickr album of all my Life Book 2016 projects. I can't go without sharing the before and after side by side 
You can see all my posts about Life Book this year HERE. I am really happy with how both versions of the project look together in my journal. 2 versions = more learning.

Wednesday, July 13, 2016

6 Year Bloggiversary!!

Happy Bloggiversary to me! On 13th July 2010 I posted the following : My first post at last. Been thinking about blogging for a while.
I want to have a diary of my art experiments/projects; a visual record of what I am watching, reading, seeing, thinking. It's called ALL OF ME because I want to record all my experiences - mainly arty, but you'll occasionally read about family stuff too. Hopefully it will help make me more productive, and it will be fun to look back on. New challenges of creativity too.
My banner looked like this in 2012 : 
My blog's been everything I hoped. It's made me more productive - it's fantastic to have a diary of my projects where the steps of my process are linked together with my thoughts, my methods, my progress photos - it's helped me think about why I create and I've worked through issues of whether and why I should keep blogging - it's helped me think about how I can find time to create and to be kinder to myself about how much I get done. It IS really fun to see the path of my creative journey. 
This is post 762! Sometimes (usually in the middle of winter!) I wonder whether I will keep going, but I tried giving it up once (May 2014) and that didn't even last a full 2 months until July when I realised that there was too much about it that I missed. So now I try to be not so hard on myself and be happy that I post at least once a week - that means I'm creating regularly and that's the aim :-)
If it wasn't for my blog, I probably wouldn't have a Flickr account (I like looking at my work grouped in categories this way)
and I don't think I would have had the opportunities to teach and talk to groups that have come my way. It's fabulous to connect with like-minded people and when I check on the stats, I sure get plenty of visits to my blog and that makes me happy. 
I thought I'd share my 6 favourite projects with you but it was so tough to choose! So I just decided to share the top 6 things that enable me to blog
I ♥ my studio space
I ♥ my art supplies : that's a link to a post in 2013. I still love those things but have the new sewing machine now :-) - find out where I shop HERE.
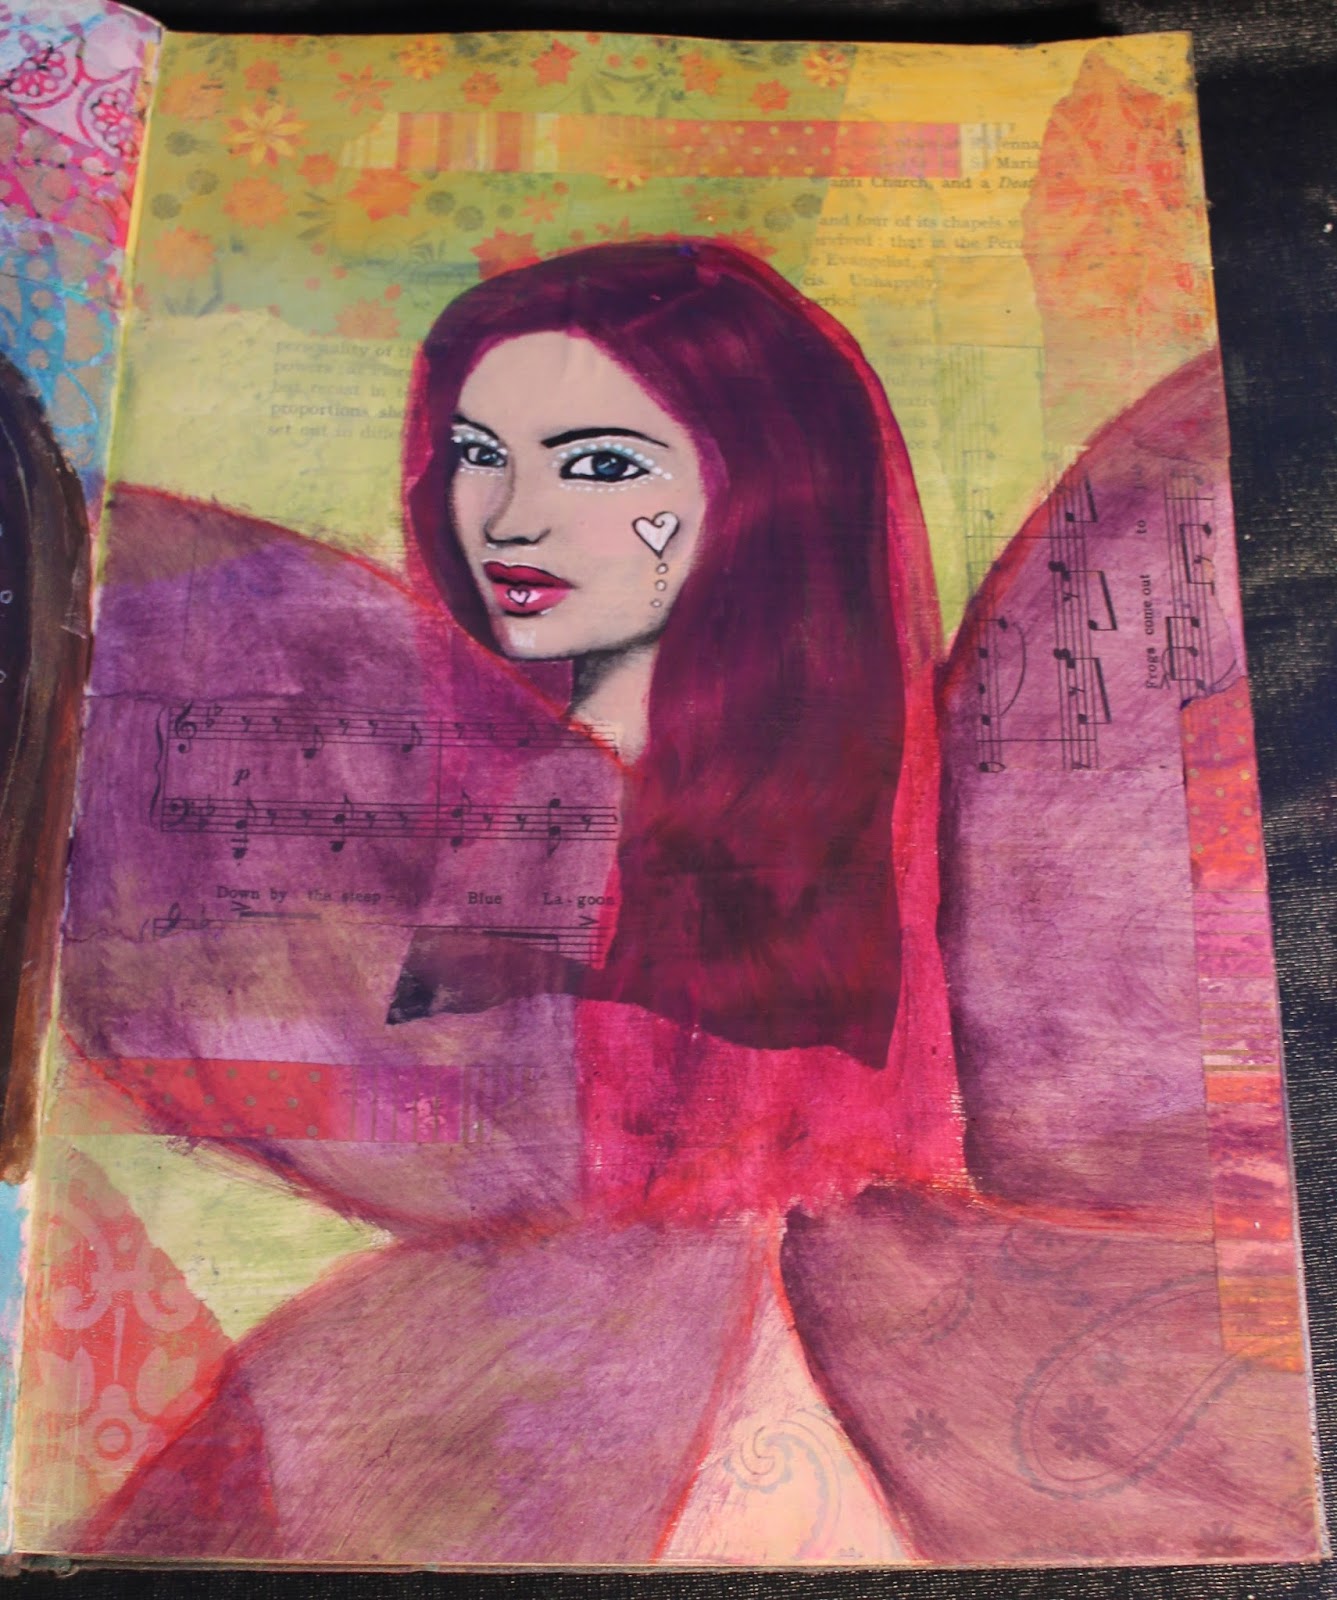
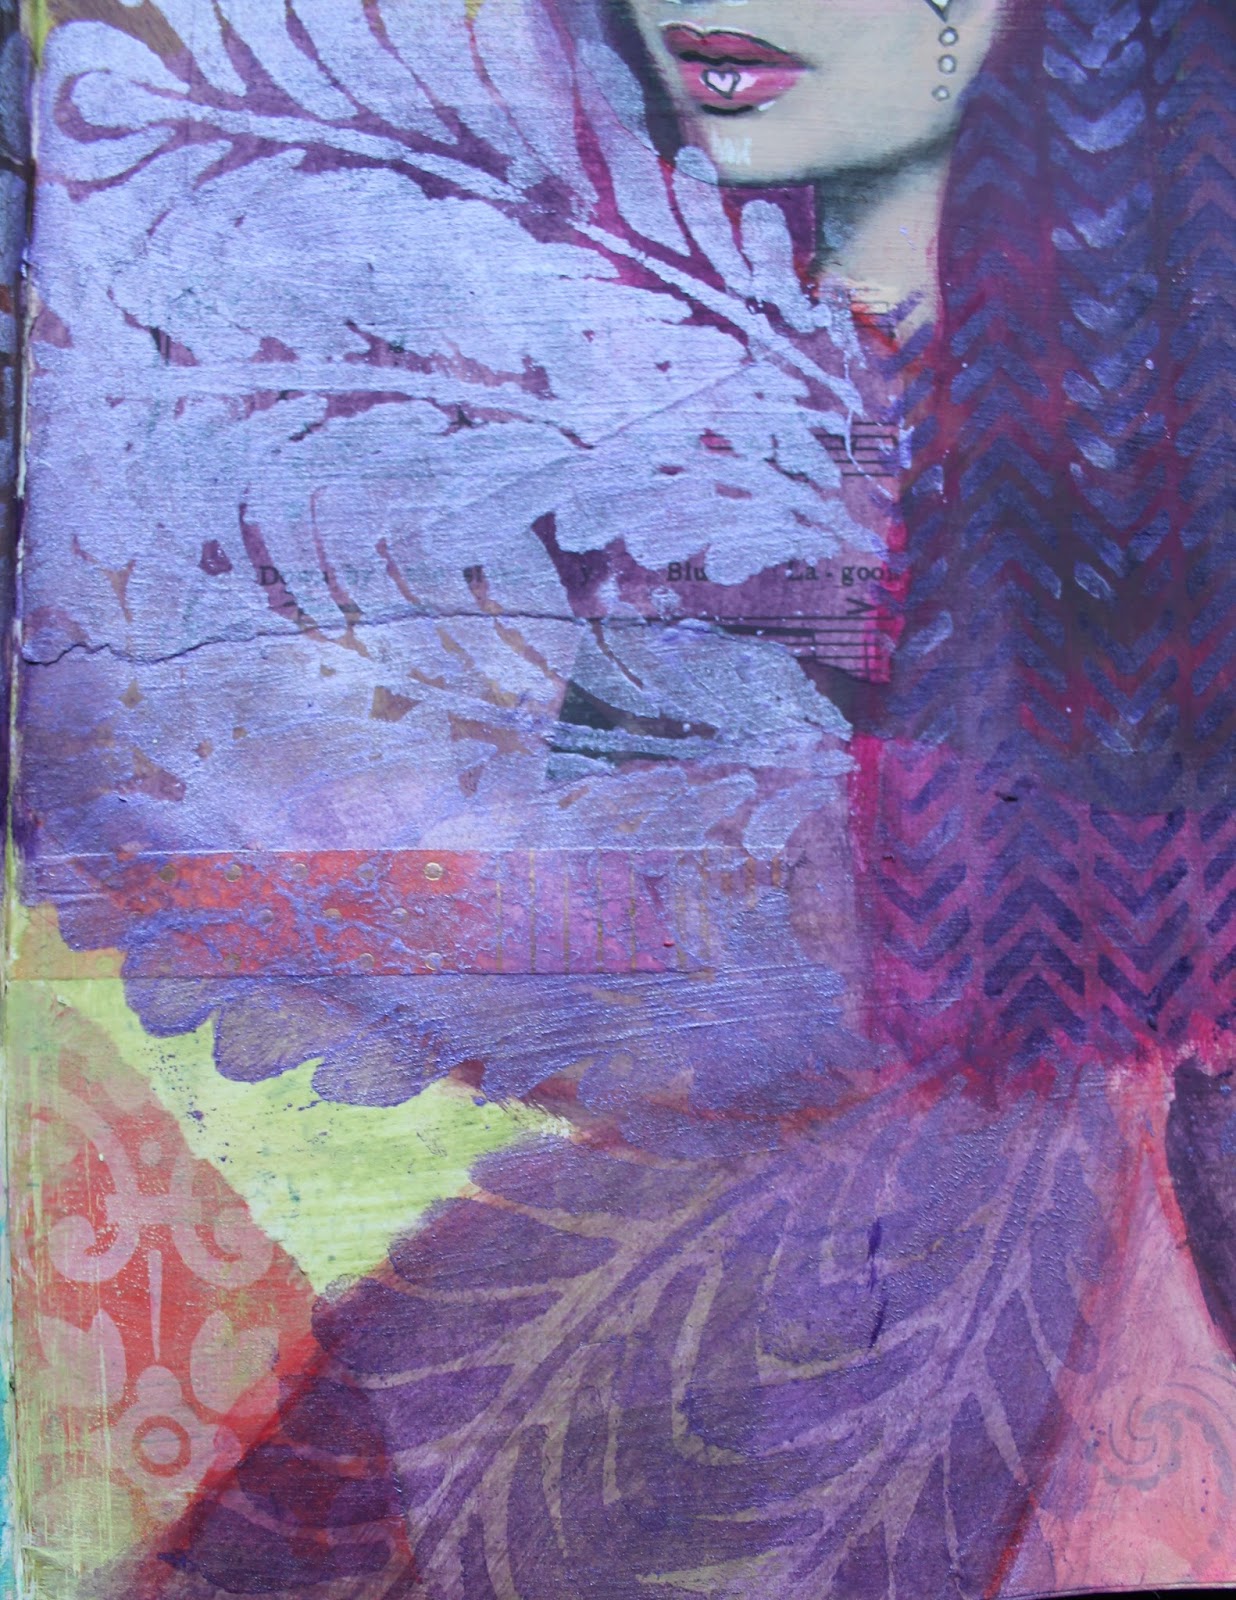
I ♥ art journaling and book making
I ♥ making quilts - this is my latest in progress on the design wall
I ♥ sprays and stencils
I ♥ being a part-time librarian. I love reading and sharing good Fiction and Arty books and I like helping people and organising things into categories....
Check out all my Labels in that right hand column that make it easier (I hope) for you to find your way around here :-) 
I ♥ my blog. Thank you for checking in with me. I'd love to know - which projects are your favourites?
Related Posts Plugin for WordPress, Blogger...