Showing posts with label Stitched Paper Daily Art Journal. Show all posts

Saturday, January 3, 2015

Binding my stitched paper daily art journal

My stitched paper daily art journal is all done
I'm going to share how I bound it, but first here are the last days of 2014 captured in my daily journal pages. Continued to add machine stitching to each page and they are bursting with summer colour :-)
Click on any photo to see it larger
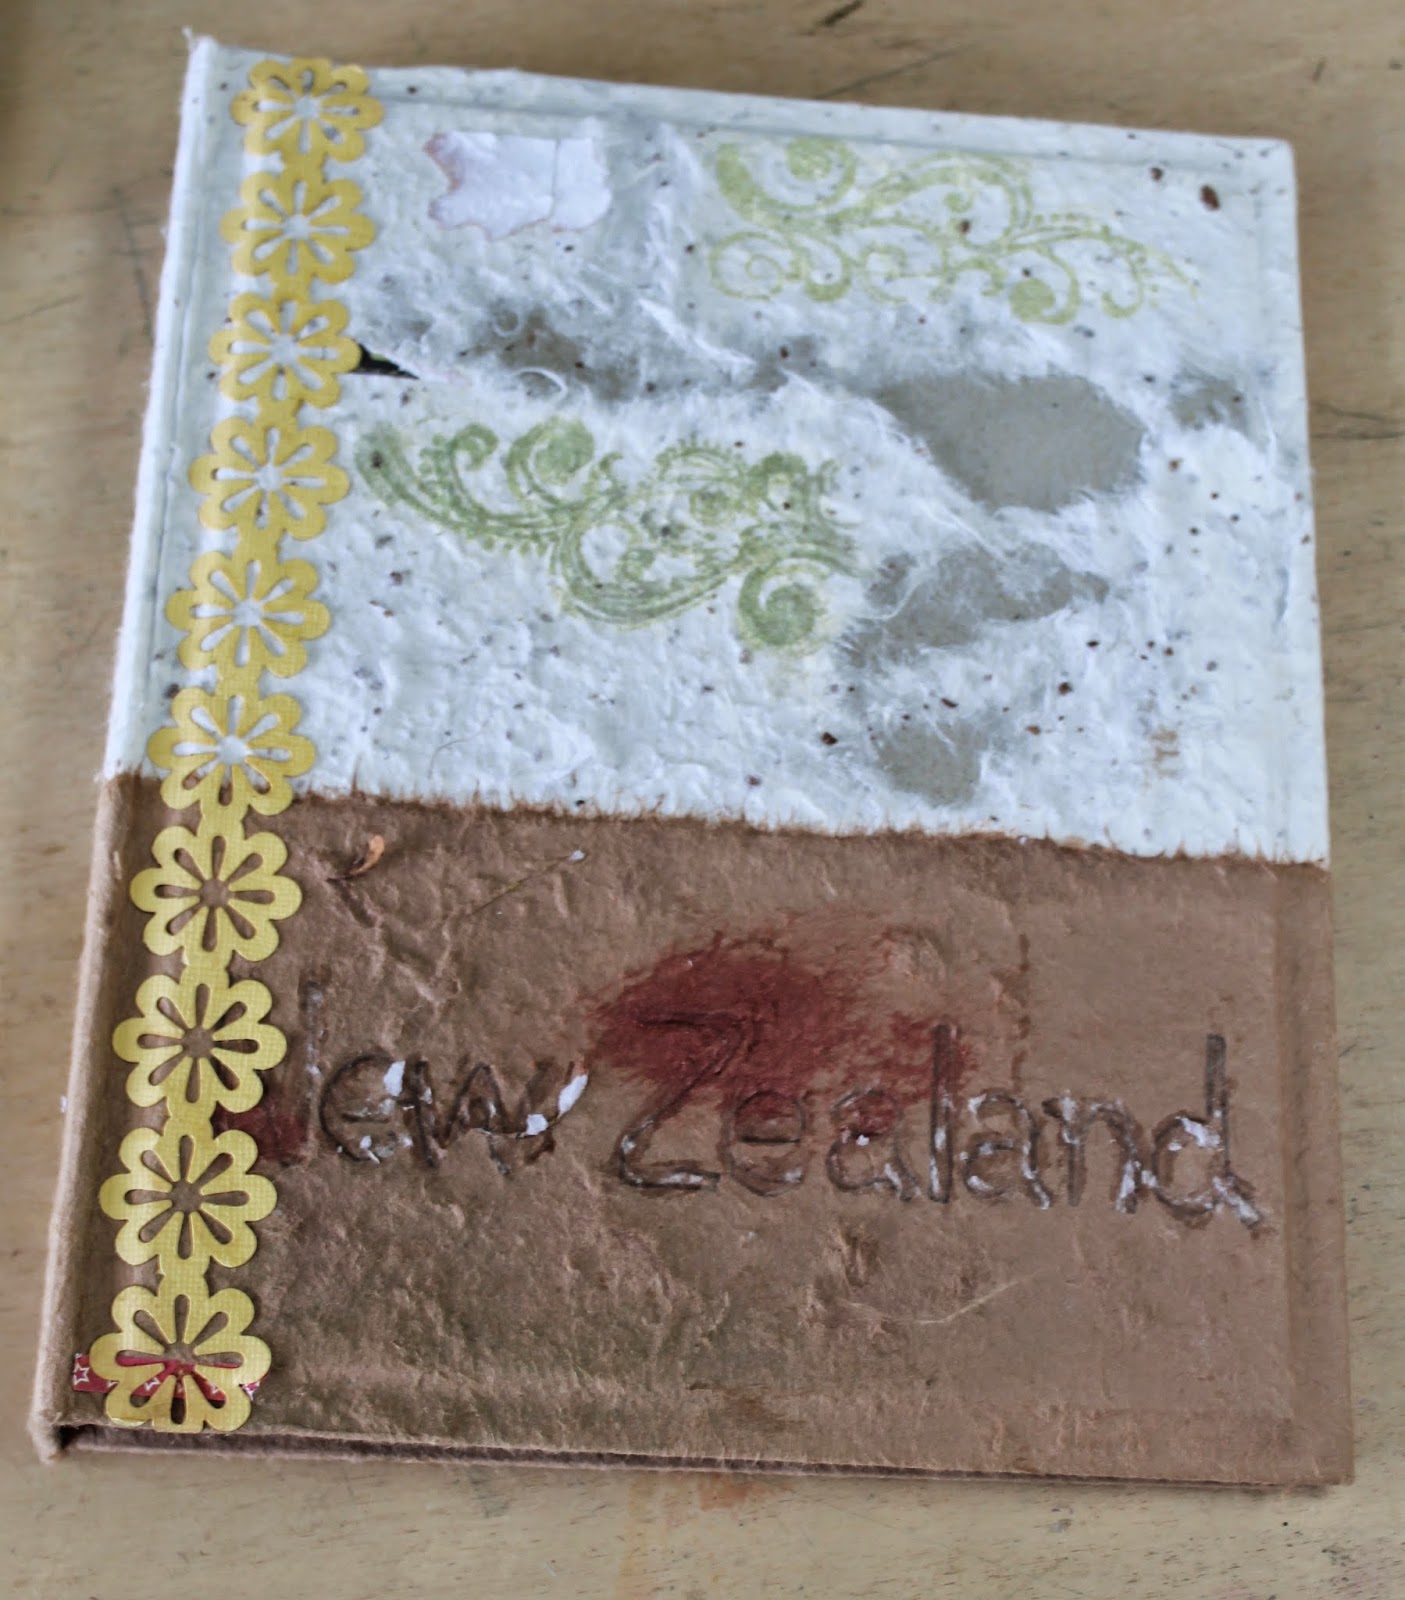
Once the pages were complete, I made my journal cover.
I often like to leave creating my journal covers until the end since the style of my journal develops as I work through it. I removed the embellishments that I'd used to create it in 2011, so started with this.
This time I tore paper, arranged the pieces, and ran only little bit of gluestick to hold them in place for stitching together - I've lifted a couple of corners in the photo to show I didn't use much glue. The back needed reinforcing with extra paper behind the stitching in just a couple of places
And here it is glued to the original cover - I used heavy gel medium and rolled over it with a brayer to make sure it was really well stuck down
When I first posted about this journal I shared the reworking of some original pages and that I was creating individual pages for this journal. Now it's time to bind them together.
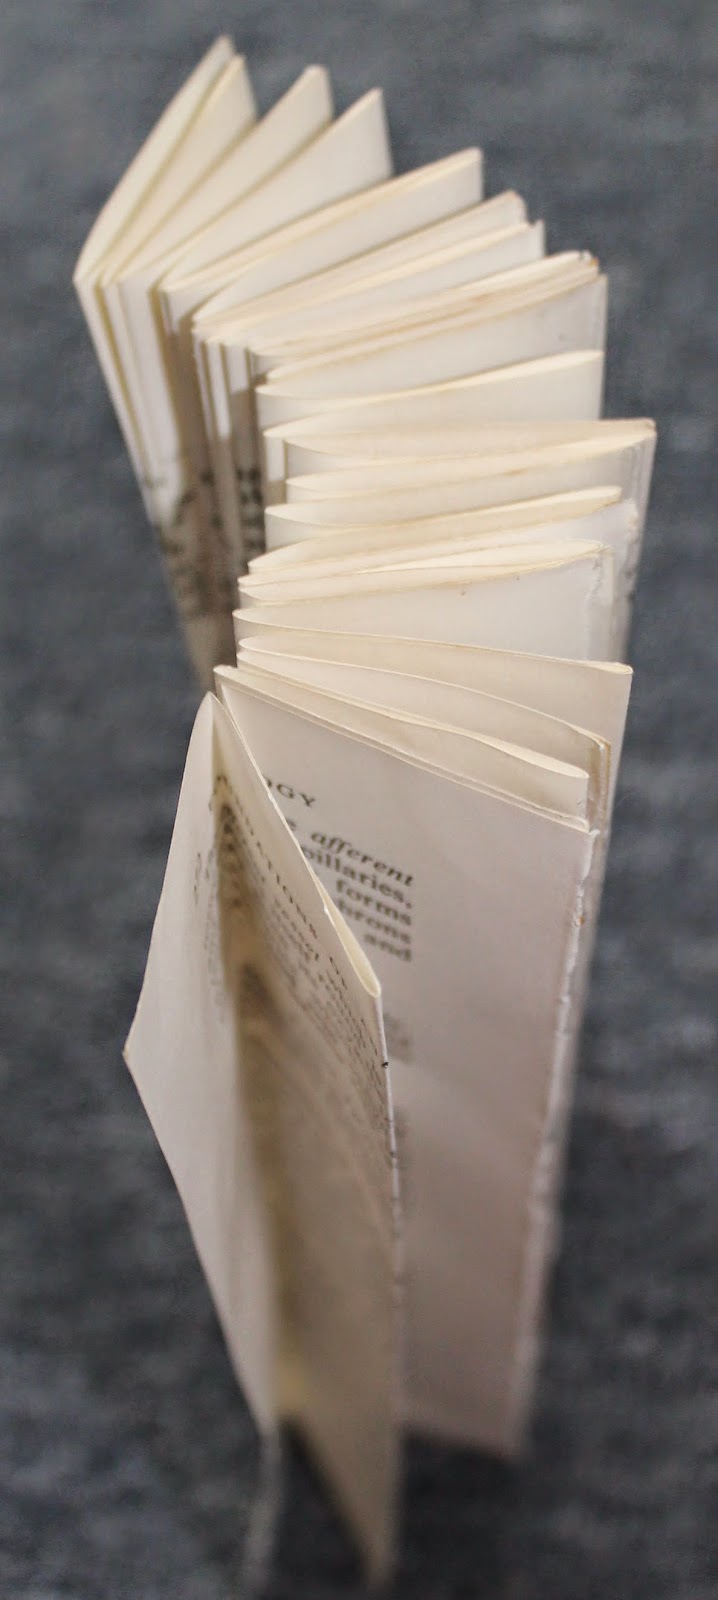
I needed to use paper that wasn't going to add too much bulk between the pages, and decided to use some old book pages that were a convenient size for the length of my pages, and also the width was good to fold down the middle and then in half again each side
I folded my individual pages and then glued them to each other on the edges so I was getting a length of concertina folds
Then I glued those folds together to create all my hinge inserts 
The first and last hinge remain free at this stage - they will be used to attach the pages to the cover. Nestle the front page right into the groove of the hinges, and glue the hinge facing you to the back of that page
Then glue down the page that is going to back that one to contain the hinge
Now you're ready to add the next page - they turn freely and you shouldn't see the hinge if you're careful to nestle the pages properly
Hope that is clear! Here's a view of the spine of book page hinges before I set them into the cover
And after leaving them to dry overnight, I stitched the outermost edges together to reinforce them
They look great too. Here are photos of a couple of completed spreads : black thread on the ordinary pages 
and metallic for the Christmas ones. Click on the photos to really see the stitching.
Then I glued the entire block inside the cover - here's that last hinge attaching to the inside back cover
Inside front cover and page one - pages all glued in
Last page of journal and inside back cover - journal complete
Here's the finished journal :-)
So love to see a journal crammed full of arty goodness. See all the posts about this journal HERE and in my Flickr Set HERE
In 2015 my daily journal practice will be informed by DLP 2015 (Documented Life Project). Looking forward to new challenges

Saturday, December 27, 2014

Christmas stiched paper daily art journal

Having a wonderful week - Christmas in New Zealand is summer and the weather is certainly gorgeously sunny and hot this week. We've had Christmas day with family, and Boxing day relaxing at home and I caught up on my remaining Christmas pages in my daily journal :
First the page I hadn't completed when I showed you last time 
click on any photo to see it larger
Starting a page with a serviette and stitching down a strip of ribbon is a fun base
and you might recognise this serviette base from when I made my Christmas cards
and then it was Christmas day
fun to use a serviette from the Christmas table as a background
Cute printable journal labels available from Mary Ann Moss as digital download HERE and I love my cute new staz-on ink pad
To capture memories, pages can be as simple as stitched photos and a bit of tape...this next page is card cut from a gifted calendar envelope - and doesn't even have stitch! 
Boxing Day - summer sunshine and relaxing
The blue label is another Mary Ann Moss one
Only 5 days left of the year so I'll be finishing just a few more pages and then binding them together before I start new ventures in 2015. In that first photo you can see the stack of pages for this journal...Hope you find some inspiration here.
See all the posts about this journal HERE and in my Flickr Set HERE.

Saturday, December 20, 2014

Christmas stitched paper daily art journal

I've been sharing weekly posts of the December pages in my current daily journal. They all have a Christmassy look with the choice of background papers, embellishments, date tags, and gold metallic thread to stitch with.
It was a week of "the last time" as my youngest son finished all the activities associated with primary school this week. I have been including elements that have been gifted - here it's a piece of a clear gift bag which I stitched on the right over the sheet music background.
click on any photo to see it larger
So glad I purchased the pack of Christmas daily advent tags - love the look they give to each page
I bought some Christmas wrapping paper that I thought would make a really nice background for a page
This made me so happy I had to put lovely wrapping paper on the next page as well
These very cool reindeer were on a gift I received last year....fun to use my sewing machine to stitch Friday as well.
And that's the unfinished page ready for today's happenings. Gorgeous sunshine at my house today - 25 degrees Celsius and we've been in the pool for the first time this summer :-)
There's not much time to spend in my art journal this month and I am grateful to have this way of capturing the joys of my December. Only 5 more sleeps...
See all the posts about this journal HERE and in my Flickr Set HERE.

Sunday, December 14, 2014

Christmas stitched paper daily art journal

I saw this packet of small advent tags the other day and thought they would be a lovely addition to my Christmas pages
First I went back and added them to my first week's pages...here are a couple of examples of the original pages shared here now with the addition of the tags
I had felt this page needed "something" - turned out it was waiting for the tags and Christmas countdown heading.
Again, the tags "finish" this page properly. Having used stitch to attach my other elements, it was easy to make the new additions feel part of the pages.
Now to share this past week's pages...I decided to begin the next page with some lovely wrapping paper and used some Christmas labels as my journaling space
I have decided to do all my stitching on these pages with gold metallic thread and am loving how the advent tags give cohesion to the page.
Highly recommend the book Apple and Rain - was in the teen section of my public library and I will be buying a copy for our school library. Beautifully written with the main character discovering poetry as an integral part of the story.
The previous weekend, my sister-in-law was throwing out an old handbag. She saw the punched design on the side of it and wondered it I could use it in my art :-) As you can see, spraying through and printing off the excess ink with it works wonderfully.
These became the backgrounds for my next pages. As the week progressed at school, I started to get some cards that had such lovely thoughtful words to me that I decided to stitch them onto my journal pages to keep forever.
For Thursday's page, I decided to again use some gift tags. This time I cut a couple and overlayed them to make a longer journal block (original tag at the top)
Friday I got some more lovely cards so when I bind this journal, I will include them on the facing page, and between like this 
Hope you are having a happy December. See all the posts about this journal HERE and in my Flickr Set HERE. 
Related Posts Plugin for WordPress, Blogger...