Sunday, January 4, 2015

Art journal pages 84-87

Wanting to get my Full Tilt Boogie journal finished before I get stuck into new art journals this year. You saw a glimpse of the next spread when I posted my Ta Dah! list. This progress shot shows the scale of these card pages in the middle of the final signature
click on any photo to see it larger
The back of that small card finished up like this :
This paper serviette on my next page base is one of my favourites - I was given a few of them and this is almost the last of them.
I love Mucha's women
On the home stretch now...only 2 spreads to go! You can see all the Full Tilt Boogie journal pages in my Flickr Set

Saturday, January 3, 2015

Binding my stitched paper daily art journal

My stitched paper daily art journal is all done
I'm going to share how I bound it, but first here are the last days of 2014 captured in my daily journal pages. Continued to add machine stitching to each page and they are bursting with summer colour :-)
Click on any photo to see it larger
Once the pages were complete, I made my journal cover.
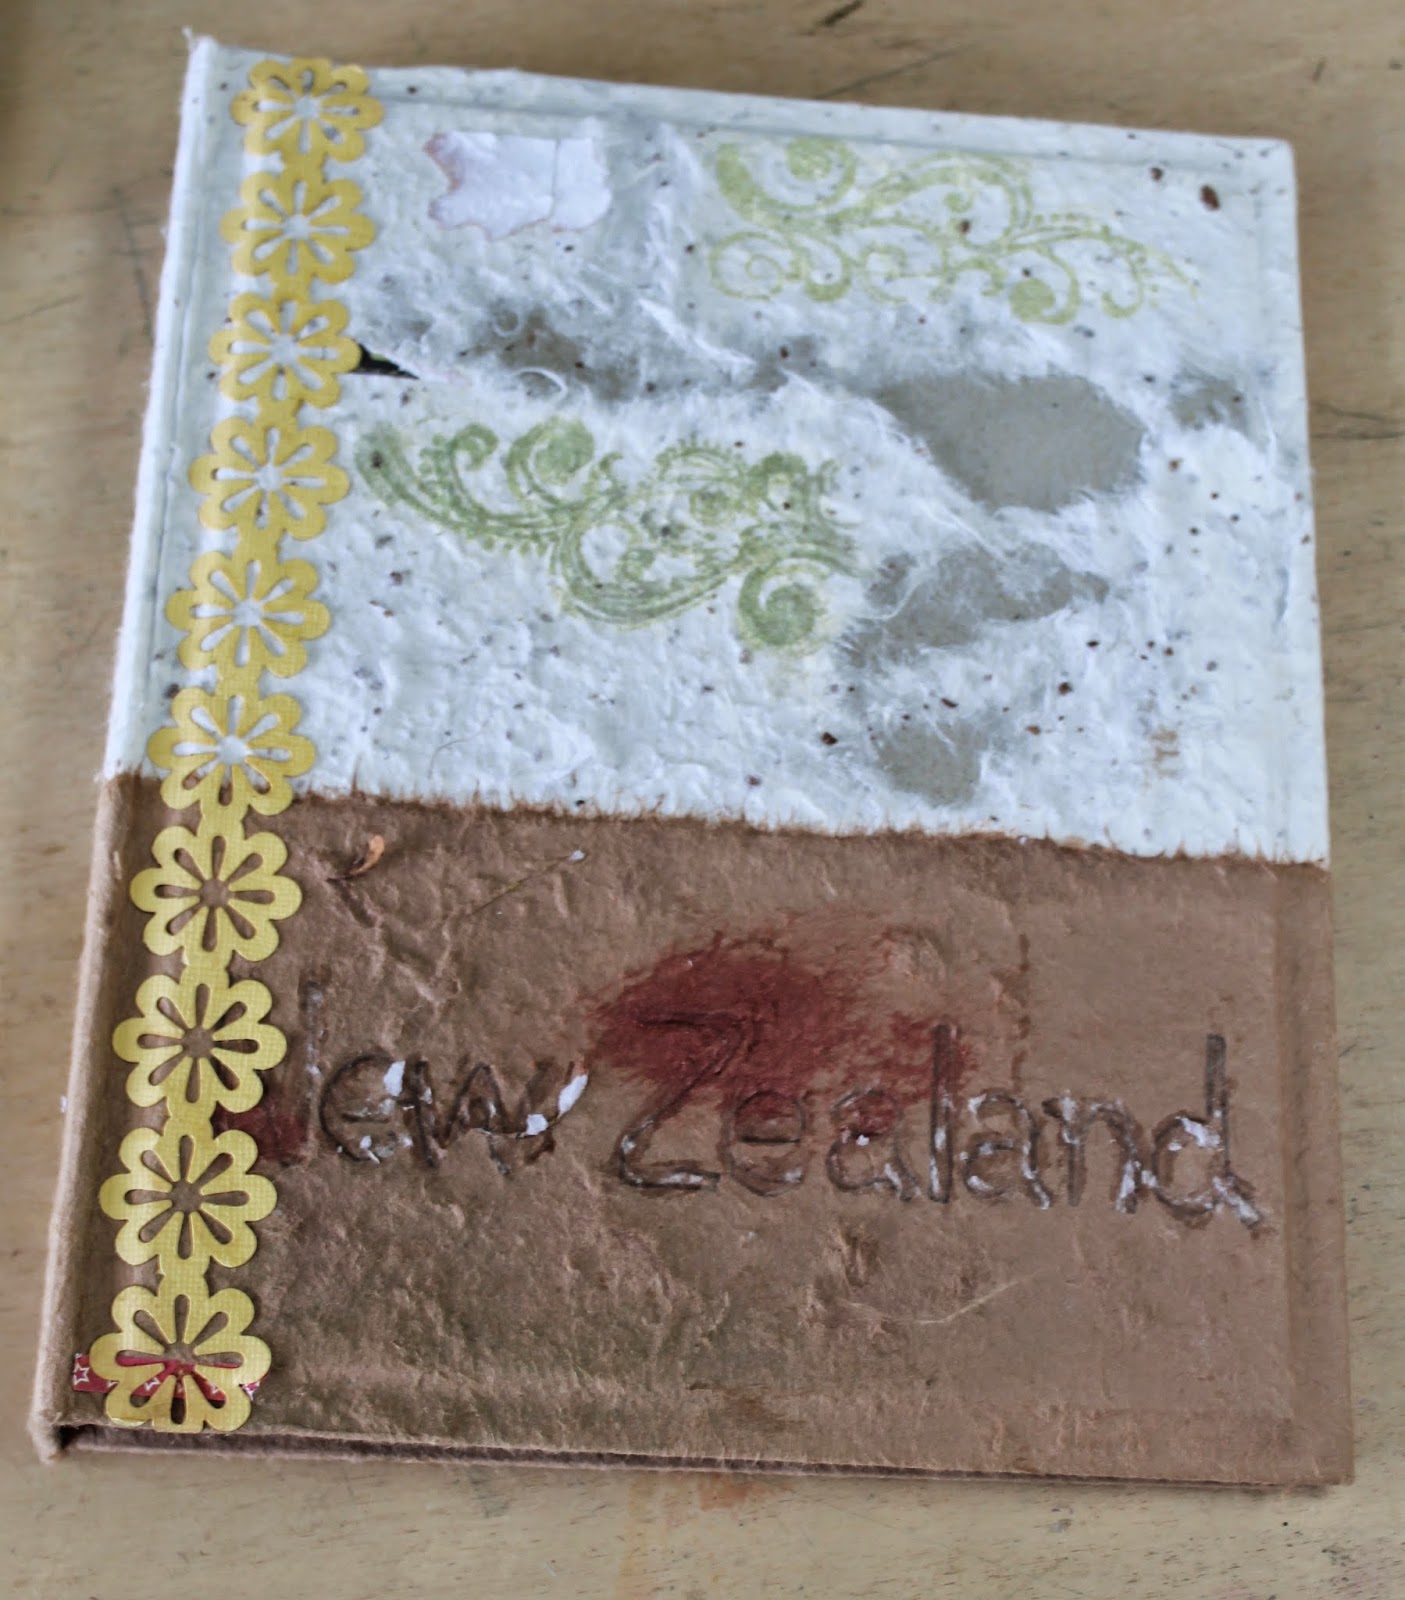
I often like to leave creating my journal covers until the end since the style of my journal develops as I work through it. I removed the embellishments that I'd used to create it in 2011, so started with this.
This time I tore paper, arranged the pieces, and ran only little bit of gluestick to hold them in place for stitching together - I've lifted a couple of corners in the photo to show I didn't use much glue. The back needed reinforcing with extra paper behind the stitching in just a couple of places
And here it is glued to the original cover - I used heavy gel medium and rolled over it with a brayer to make sure it was really well stuck down
When I first posted about this journal I shared the reworking of some original pages and that I was creating individual pages for this journal. Now it's time to bind them together.
I needed to use paper that wasn't going to add too much bulk between the pages, and decided to use some old book pages that were a convenient size for the length of my pages, and also the width was good to fold down the middle and then in half again each side
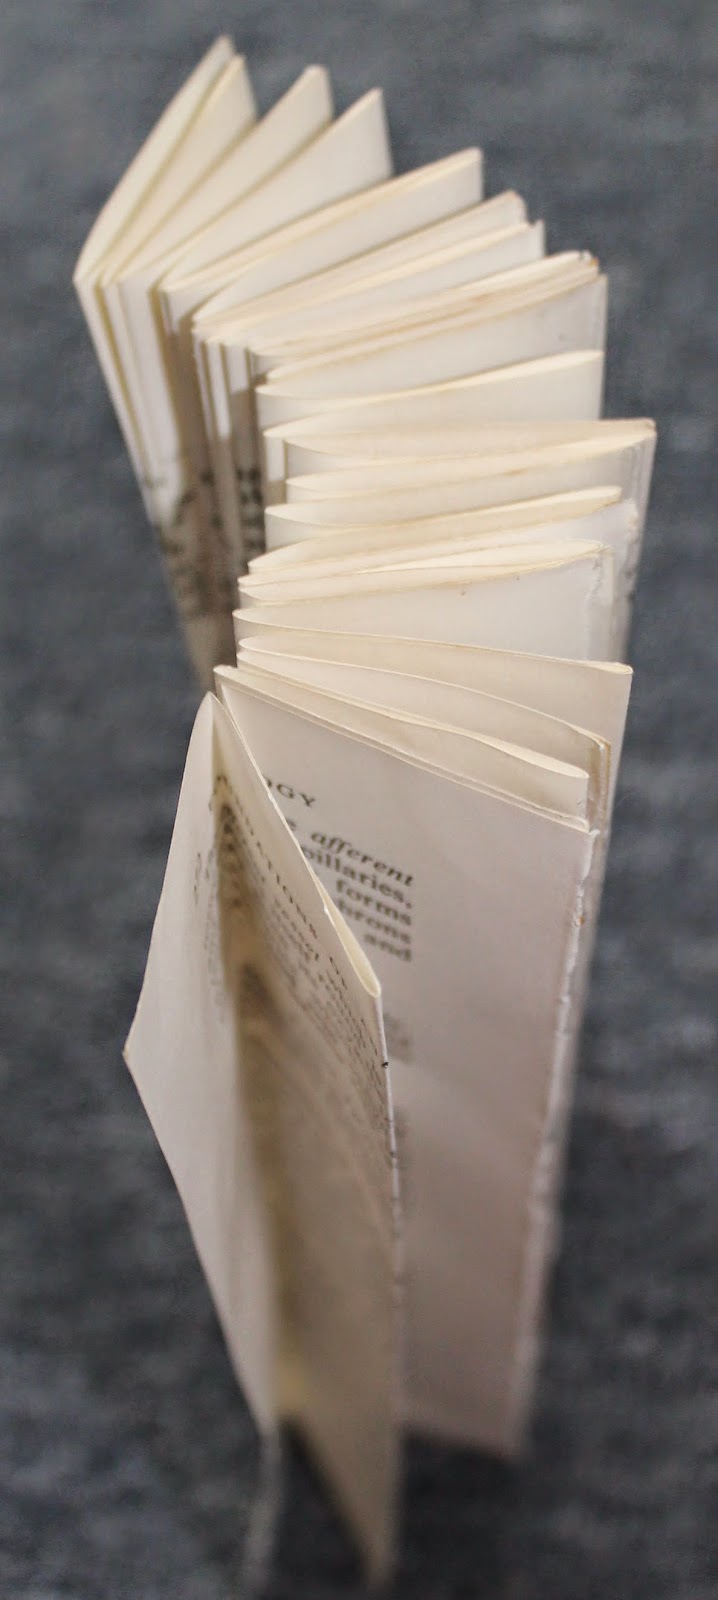
I folded my individual pages and then glued them to each other on the edges so I was getting a length of concertina folds
Then I glued those folds together to create all my hinge inserts 
The first and last hinge remain free at this stage - they will be used to attach the pages to the cover. Nestle the front page right into the groove of the hinges, and glue the hinge facing you to the back of that page
Then glue down the page that is going to back that one to contain the hinge
Now you're ready to add the next page - they turn freely and you shouldn't see the hinge if you're careful to nestle the pages properly
Hope that is clear! Here's a view of the spine of book page hinges before I set them into the cover
And after leaving them to dry overnight, I stitched the outermost edges together to reinforce them
They look great too. Here are photos of a couple of completed spreads : black thread on the ordinary pages 
and metallic for the Christmas ones. Click on the photos to really see the stitching.
Then I glued the entire block inside the cover - here's that last hinge attaching to the inside back cover
Inside front cover and page one - pages all glued in
Last page of journal and inside back cover - journal complete
Here's the finished journal :-)
So love to see a journal crammed full of arty goodness. See all the posts about this journal HERE and in my Flickr Set HERE
In 2015 my daily journal practice will be informed by DLP 2015 (Documented Life Project). Looking forward to new challenges

Thursday, January 1, 2015

My word for 2015

HAPPY NEW YEAR - Wishing you lots of creative joy
I've had a word of the year since 2011. It's helps me be intentional as I move through my days. When I started thinking about this, I thought I was heading for an active word like "explore" or "grow"....but in the background I realised I've been thinking a lot about being "authentic" (in my art, in how I live), about "joy" and "being present" as well as self care - being "calm", and wanting to build on my gym habit with more healthy eating options, and more family walks on our days off together.
I highly recommend Susannah Conway's Free 5 day email class to find your word.
My Word for 2015 is NOURISH
It was a surprise, but it feels so right. When I got my fifth email and Susannah suggested creating a pinterest board of your word, I clicked on hers and it was Nourish! When I saw it, I knew my chosen word was right. Immediately my whole body relaxed and I felt "Yes" :-)
For me it encompasses all these words : Support - Encourage - Cultivate - Authentic - Care - Sustain - Feed - Strengthen - Natural - Delight - Mindful - Healthy - Develop - Body & Soul - Creative spirit - Pure - Nurture - Cherish - Grow - Wonder - Pleasure - Happiness.
My intentions for 2015 are to :
Nourish our bodies - prepare healthy food to give my family good energy to fuel active lives - continue my gym habit and celebrate what my body can do - doing more regular family walks on the weekend - and also making sure I have times to rest, some self-care
Nourish my relationships - being mindful of how I speak/react to my family and friends - to lift and support them - to delight and encourage them - to be present in the moment with them - to share joy - to cultivate friendships - to show love to my husband and boys.
Altered ornament
Nourish creativity - creating regularly - being authentic - learning new skills - sharing on my blog - creating gifts that nourish others
Nourish my mind - read - watch movies - listen to music - explore new ideas - keep a record of meaningful quotes and inspiring creative projects 
Nourish my soul/spirit - intentionally notice ordinary beauty in my day - count my blessings - remind myself of how lucky I am - be present - share gratitude and wonder.
Page 80 in my Full Tilt Boogie journal
I choose NOURISH. What do you choose?
Related Posts Plugin for WordPress, Blogger...