Saturday, January 3, 2015

Binding my stitched paper daily art journal

My stitched paper daily art journal is all done
I'm going to share how I bound it, but first here are the last days of 2014 captured in my daily journal pages. Continued to add machine stitching to each page and they are bursting with summer colour :-)
Click on any photo to see it larger
Once the pages were complete, I made my journal cover.
I often like to leave creating my journal covers until the end since the style of my journal develops as I work through it. I removed the embellishments that I'd used to create it in 2011, so started with this.
This time I tore paper, arranged the pieces, and ran only little bit of gluestick to hold them in place for stitching together - I've lifted a couple of corners in the photo to show I didn't use much glue. The back needed reinforcing with extra paper behind the stitching in just a couple of places
And here it is glued to the original cover - I used heavy gel medium and rolled over it with a brayer to make sure it was really well stuck down
When I first posted about this journal I shared the reworking of some original pages and that I was creating individual pages for this journal. Now it's time to bind them together.
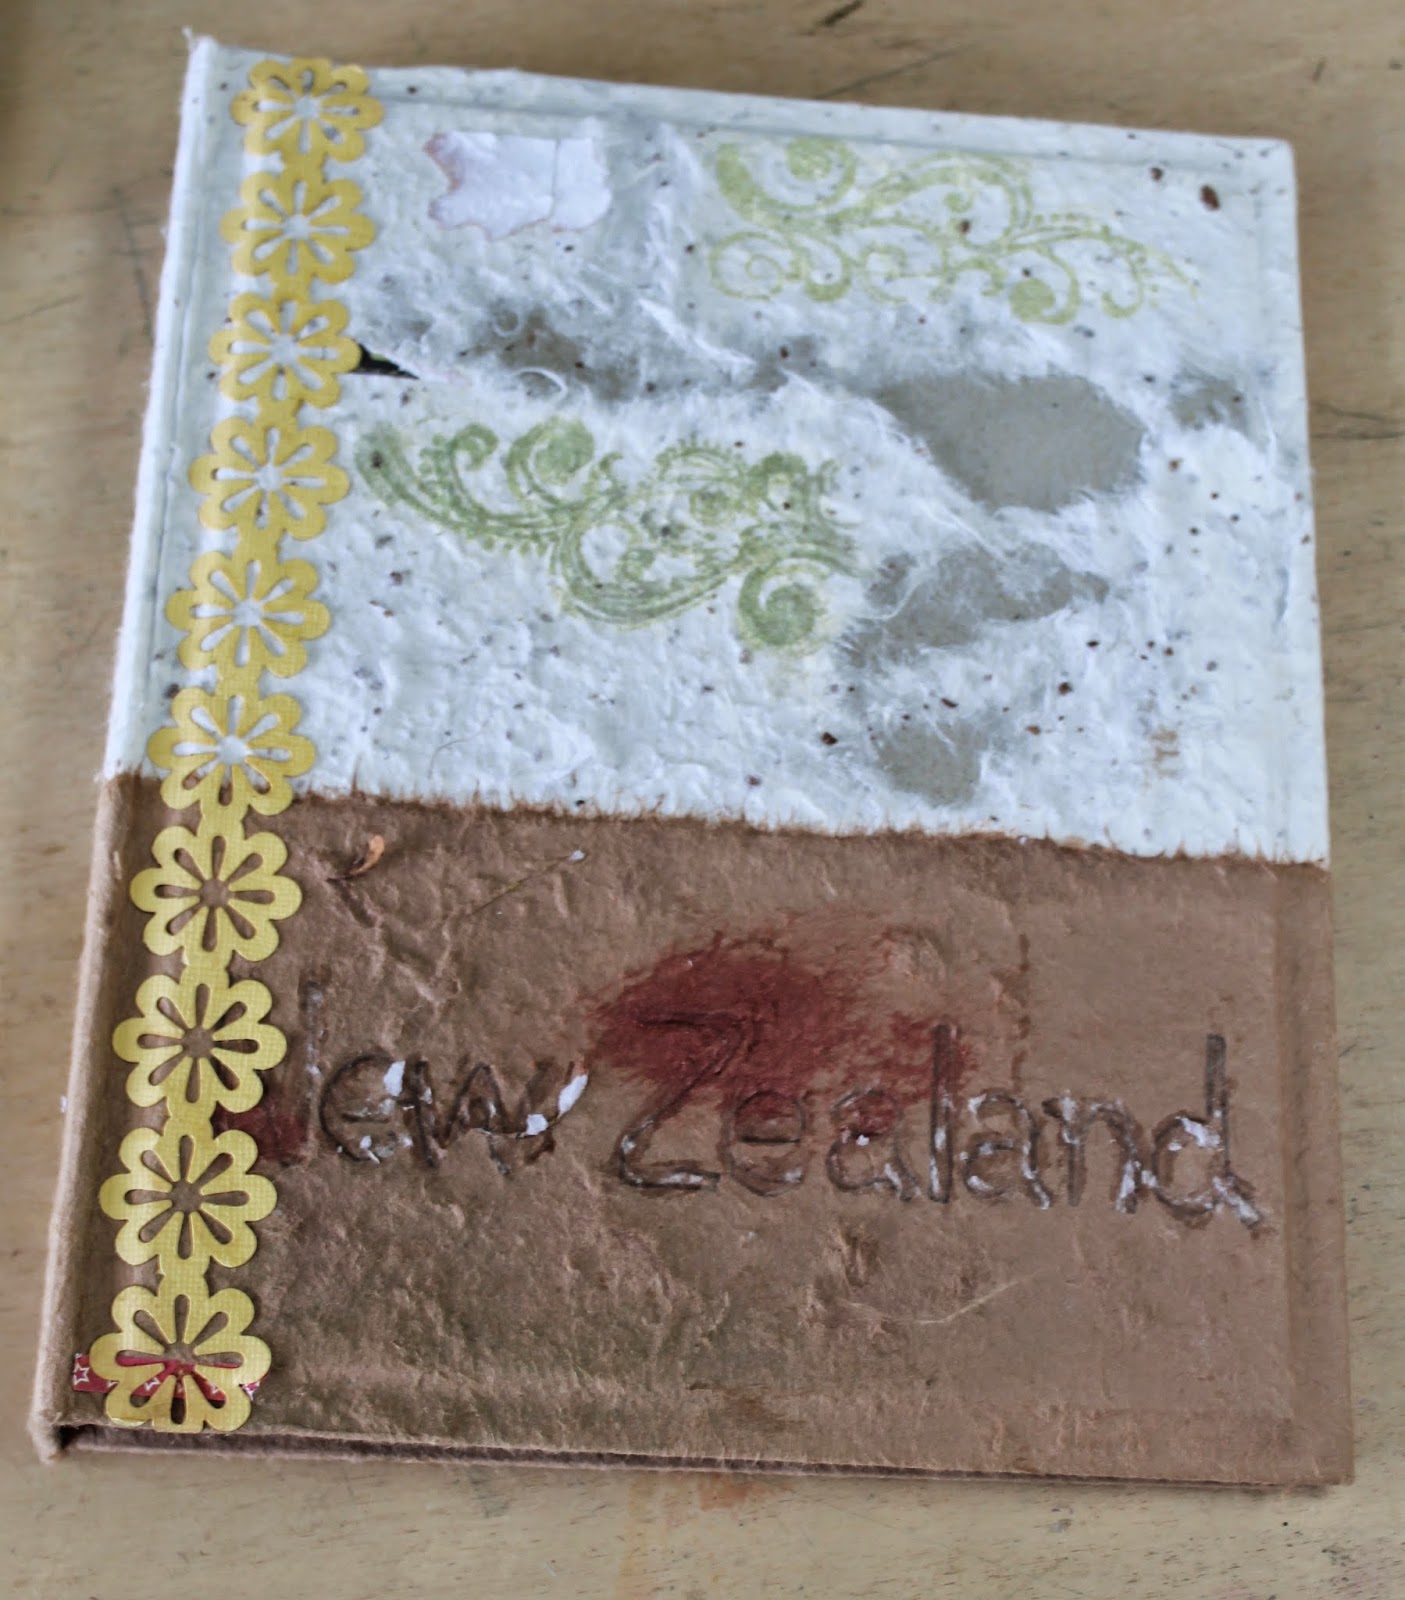
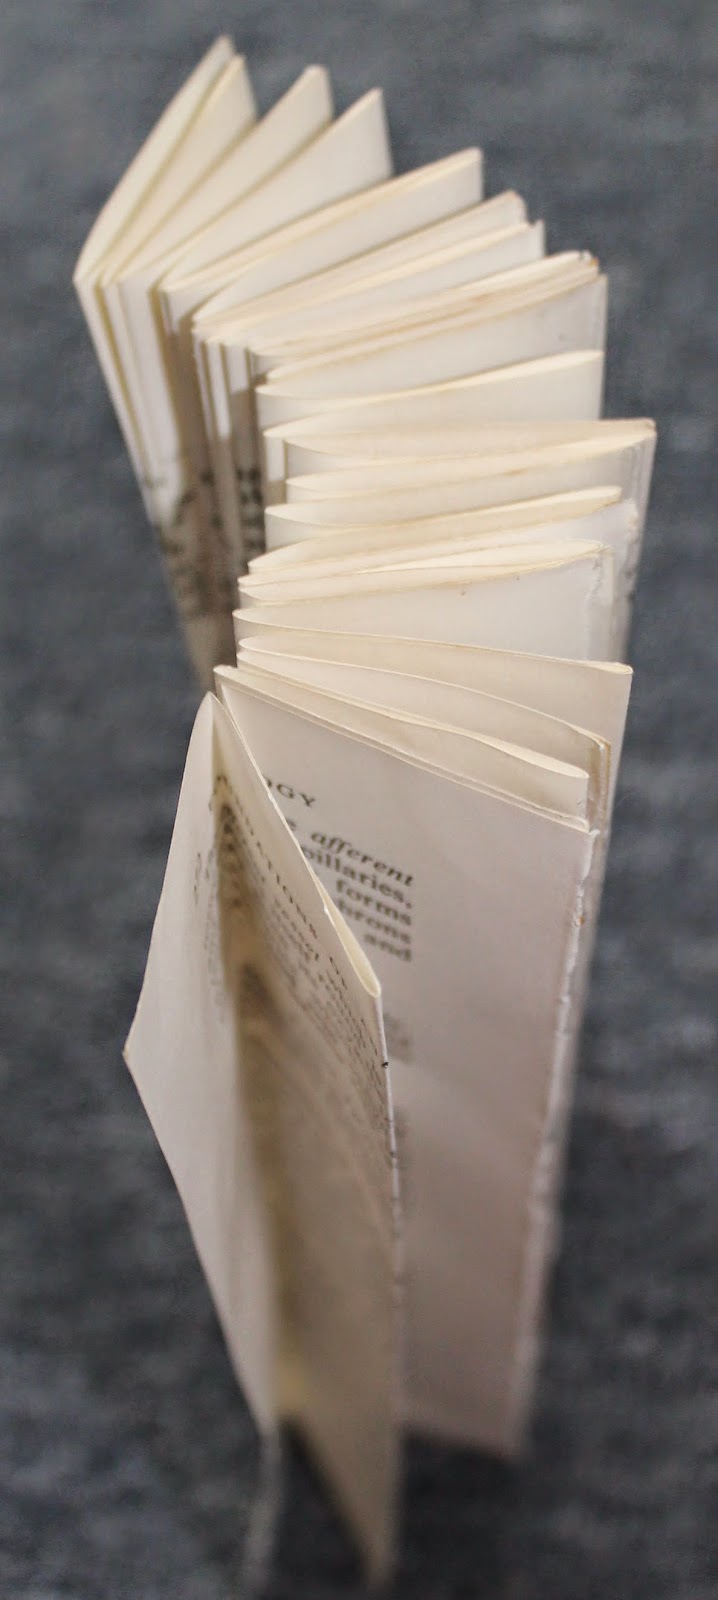
I needed to use paper that wasn't going to add too much bulk between the pages, and decided to use some old book pages that were a convenient size for the length of my pages, and also the width was good to fold down the middle and then in half again each side
I folded my individual pages and then glued them to each other on the edges so I was getting a length of concertina folds
Then I glued those folds together to create all my hinge inserts 
The first and last hinge remain free at this stage - they will be used to attach the pages to the cover. Nestle the front page right into the groove of the hinges, and glue the hinge facing you to the back of that page
Then glue down the page that is going to back that one to contain the hinge
Now you're ready to add the next page - they turn freely and you shouldn't see the hinge if you're careful to nestle the pages properly
Hope that is clear! Here's a view of the spine of book page hinges before I set them into the cover
And after leaving them to dry overnight, I stitched the outermost edges together to reinforce them
They look great too. Here are photos of a couple of completed spreads : black thread on the ordinary pages 
and metallic for the Christmas ones. Click on the photos to really see the stitching.
Then I glued the entire block inside the cover - here's that last hinge attaching to the inside back cover
Inside front cover and page one - pages all glued in
Last page of journal and inside back cover - journal complete
Here's the finished journal :-)
So love to see a journal crammed full of arty goodness. See all the posts about this journal HERE and in my Flickr Set HERE
In 2015 my daily journal practice will be informed by DLP 2015 (Documented Life Project). Looking forward to new challenges

4 comments:

  1. What good binding! Thanks for sharing!

    ReplyDelete
  2. The whole entire journal is just gorgeous, Lynette. You are so talented! Happy New Year! xoxo, Aimeslee

    ReplyDelete
  3. This looks fantastic Lynette! Thanks for the binding tip! I may not use this particular one for LB, but I'll defo try it for a smaller journal!

    ReplyDelete
  4. I came here not realizing that I had already commented on this - I'm actually thinking of using a similar binding technique for my LifeBook this year as it will be less bulky than last year if I glue the pages back to back. Now I know where to come if I need help!

    ReplyDelete

Thank you so much for leaving a comment. I will always respond to you so check back here in a couple of days.

Related Posts Plugin for WordPress, Blogger...