I'm following the prompts of the original Documented Life 2014. Week 15 : Monochromatic - use shades, tints and hues of one colour. And from the blog for Life Documented 2017 HERE : Add chalk or coloured pencil. Funnily enough, I had already thought I needed to do something different than floral themed this week, and hoped a face would fit the prompts somehow...When I went to Week 15 of the original 2014 prompts I found that a few of them had decided to do faces! Began by gathering my watercolour pencils to decide where I had the most shades of one colour - I have both Inktense and Graphitint.
I've been so busy this week, I hadn't actually started this spread. It turned out to be a good thing. I had written an email this morning which I decided to print out and keep as a memory of exactly where I am as I start our holidays. Need a flap with a pocket to hold that. I used sprays for the colour here though
Then it was time to make my monochrome girl - her hair makes the journaling spaces. All of this is done with the watercolour pencils blended with water. All my original work but obviously influenced by what I've been learning in Effy's classes ♥ Click on any photo to see it larger.
I wanted to include this lovely "Shine" quote from a recent Brave Girls Club email message
Added some more doodles with the same pencils and she's ready for the week's journaling
Here she is finished :
I used various shades of green pens for the journaling. Here's how she looks with the flap closed :
You can see all my posts about this project HERE and my Flickr album HERE.
Today marks the start of 2 weeks of school holidays for my boys and me. I have a looong list of what I want to get done : a mix of creative, home and work-related. I am going to try and do house & garden stuff in the morning, creative fun in the afternoon, and work-related planning for next term in the evenings AND I have a large pile of good books beside my bed to read at night. Doing this spread was my afternoon creative fun today so I've made a good start :-)
Friday, April 14, 2017
Thursday, April 13, 2017
Quilt Talk
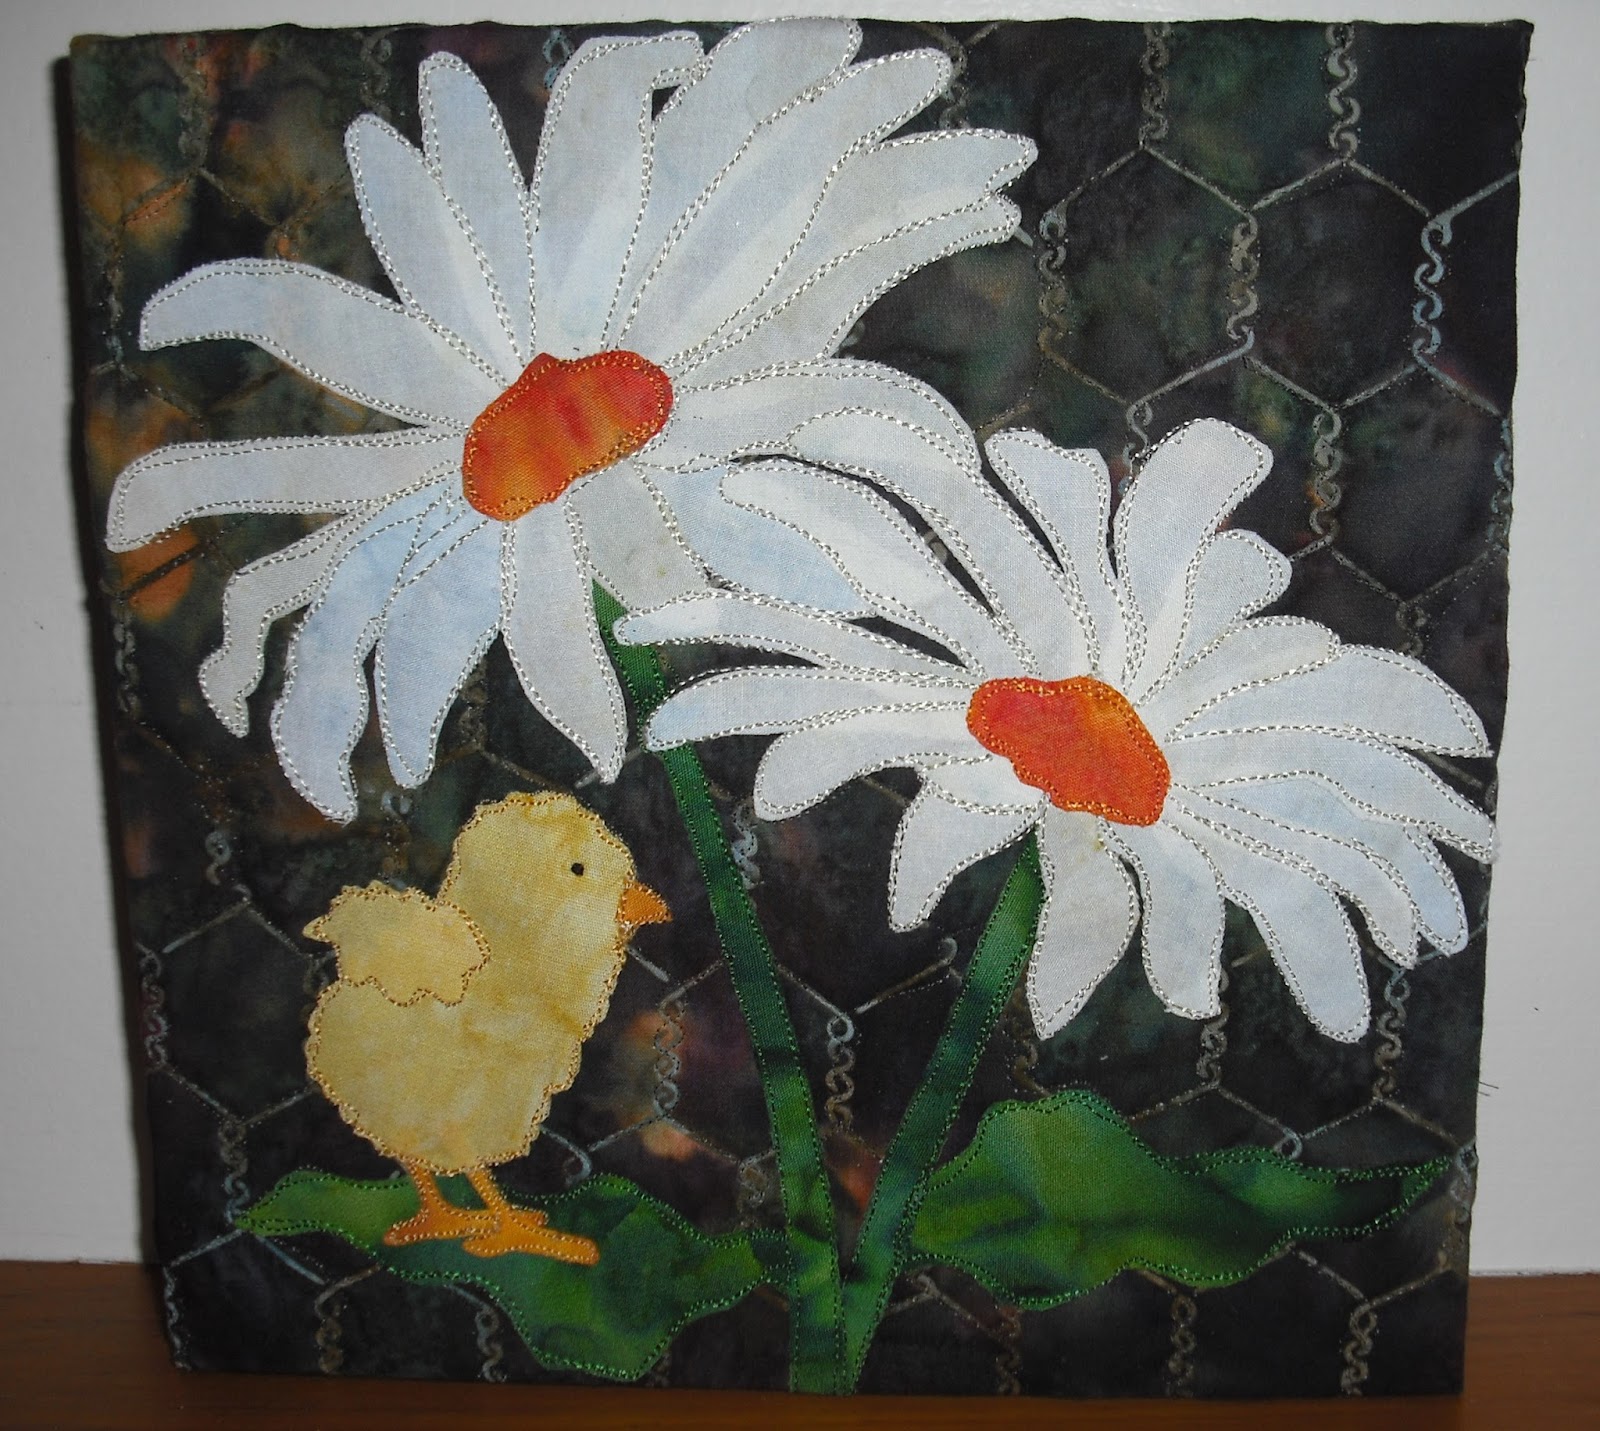
Happy Easter Eve. I made this small applique block in a class with McKenna Ryan in November 2009. Seemed appropriate to head this post.
I've had a busy start to April, but my boys and I are heading into 2 weeks of school holidays starting now - YAY! I've been focusing on quilts this past week because I was asked to speak at Levin Town & Country Quilters last night.
I gathered a pile of my quilts, and a few of my mixed media pieces
Click on any photo to see it larger, and the titles following to get the blog post about these projects. ABOVE : top left Celtic Cutwork, top right Velvet night garden, bottom left butterfly star book, bottom right Gran's fairy shoes.
Top left LOVE fabric collage, top middle Paper & Stitch collage, top right sari ribbon slow cloth, middle left On a Lark fabric folder, middle right daily journal 2017, bottom fabric banner.
I had a fun time revisting my past quilts and it was awesome to see them all laid out on display
The invitation prompted me to finally start quilting my Disappearing Nine Patch quilt which I began back in June last year!
It's tricky sometimes to know what to focus on...
I had to show it to them in progress, but hopefully I'll be sharing it with you completed very soon. If you're new here and would like to scroll through all my posts about quilts I've made click HERE.
It's tricky sometimes to know what to focus on...
I had to show it to them in progress, but hopefully I'll be sharing it with you completed very soon. If you're new here and would like to scroll through all my posts about quilts I've made click HERE.
As you can see I had a fun evening, and I'm hoping to be invited back by the club to teach some mixed media projects later in the year. Wishing you a happy creative weekend. Talk to you again soon.
Sunday, April 9, 2017
Rebinding my Altered Art Journal
I'm doing much of my art journaling this year in a recycled art book - more details HERE. Recently, I decided that I needed to rebind my book a la Effy Wild - by slashing the spine and adding wide strips of Duck tape. Just an FYI - I wondered why she calls it Duck tape and I've always called it as Duct tape - turns out it's not cos she's from Canada and I'm from NZ, it's a matter of Duck tape being the original name for the product.... I smiled when I saw that the one I used this time is called Bear tape!
Your pages MUST be SEWN into the binding, NOT glued for this to work. My original second-hand library book had a little tearing at the top of the spine so added just a piece of tape to hold it when I first started
Now blooming so much I decided I needed to slash and tear off the original spine and re-tape it
I layered 3 widths of the tape to get enough around the spine to hold it firmly
Here's a view looking down with the original spine laid over the new
I was thinking of decorating the cover, but now I'm thinking I'd better wait until the end in case this needs more spine treatment - there are still quite a few pages left :-)
Subscribe to:
Posts (Atom)