Showing posts with label Scrim (Muslin). Show all posts

Friday, July 30, 2021

Wanderlust : Texture intrigue

Our next theme in Wanderlust 2021 is Texture. As usual, we started with an inspirational lesson from
Kasia and the following week was with Mystele. Kasia began by asking "What is your favourite texture?" and Mystele shared her favourite materials and applied them to a face. My work is usually very tactile so I knew I would love these lessons and decided to combine them in one spread. 
I started with lace, modeling paste through a stencil, masking tape, scrim, embossed card, recycled paper packaging, drywall joint tape 
and gesso. 
Very hard to restrain myself but my small Dylusions journal meant I had to edit. 
Colour from iridescent paints and some drippage with ink
I was going to add a face (as per Mystele's lesson) when I realised that I had the perfect textured alternative in the form of one of my paper dolls which I shared HERE.
Added some sari ribbon and stitch additions to my figure, and then more texture to my background including metallic leaves, white paint through a circle stencil, some serviette printed with silver stars and found words to finish.
See all my other posts about this class HERE.

Tuesday, June 9, 2015

Week 23 : DLP 2015

Information about the FREE weekly Documented Life Project is HERE. We're into a new month and therefore a new theme for June :  
I really love looking at what art supplies people use, and this week Lorraine Bell included a really lovely video about what she takes in her Traveling Art Kit - check that out HERE. Here's this week's challenge from that theme :
No big travel plans in my future, but I love to go to the beach - it always rejuvenates me. So I started by applying some paint with a wet wipe - one of my favourite techniques for getting down background colour. 
Interesting the colour variation of the same paint on the different kinds of paper in this Dylusions journal - see how the left page is whiter than the right one? I went on to apply some golden brown tonings like sand, and then rolled some white paint on a swirly roller for the effect of white foam of water
I wasn't sure where I wanted to go next, and then I remembered Nichole Rae's list-style journaling from her book which I shared in this post. And I was off....
Here's my list-style journaling - feels like I wrote poetry here :-) 
Click on the photo so you can read it larger
Printed it onto some brown paper through my printer and then tore it and used a finger applicator to get some blue ink along the irregular edge. I really like that effect. For my "illustrative art" part of the challenge I decided to draw some shells and a feather onto watercolour paper - inspired by photos and techniques learned in 2012!
I also figured that a travel page needed a luggage tag
I couldn't resist adding some of the texture techniques we used in last month's challenges, including cheesecloth/scrim 
fabric and stitch (also evidenced in the tag above)
I decided to include a photo of myself at the beach as well, so my spread turned out to include a variety of elements. I think I could use this style in the future for travel journaling.
Click on the photo to enjoy it larger or see it in the Flickr album I've created for all my Documented Life 2015 spreads HERE. You can see all my posts about this project HERE.

Saturday, May 30, 2015

Week 21 : DLP 2015

Here's a sneaky peek at my challenge this week. 
Information about the FREE weekly Documented Life Project is HERE. 
Once again, I had used the texture material for this challenge in my last week's challenge! I just love scrim (muslin) - otherwise known as cotton gauze or cheesecloth. I did a post with a variety of ideas for using this lovely fibre in 2013 - you can also click HERE to see all my projects where I've used scrim (muslin) in art.
This week I sat down to my blank pages, feeling a bit cold with grey skies outside... winter is definitely making its presence felt. My eyes lit up at the sight of my roll of paper towels that I've been using recently to soak up excess sprays. The colours were so warmly joyful that I separated the paper towels to be one layer, and glued them into my journal for my base.
I ruled up my weekly journaling section to get a sense of my design space, and then added some cheesecloth as per the art challenge - I chose some pieces to add texture and blend with the colours in the background. Some of the splashes of colour were already suggesting flowers to me, so I started doodling them as well.
Click on any photo to make it larger.
I wasn't sure how I was going to add the "say cheese" part of the challenge, but it was obvious it was going to be something about smiling. I was flicking through a book about being creative and found the following : 
It fits very well with most aspects of this page and the last point led perfectly to stamping the quote :-) Here's a couple of floral detail shots 
I'm also enjoying the texture of the paper towel.
And here's my completed spread for this week
Click on the photo to enjoy it larger or see it in the Flickr album I've created for all my Documented Life 2015 spreads HERE. You can see all my posts about this project HERE.

Wednesday, May 27, 2015

Week 20 : DLP 2015

Information about the FREE Documented Life Project is HERE. 
Each week I seem to be anticipating the following week's challenge. The challenge for week 19 was stitch and I used modelling paste in my background. Turns out that is our texture challenge for Week 20 (last week) - I'm catching up...

I love using it - click HERE to see all my posts where I've used modeling paste. I started this challenge last Wednesday (during the correct week) by scraping modeling paste through a paper cut scrapbook page as a stencil
Delicious. Click on any photo to see it larger
Then I got completely distracted by thinking about and researching a new sewing machine (see my previous post) and didn't get back to this until yesterday. As is pretty much always the case, I had no idea where I was headed, but thought I would use the same elements that I used in this book cover which I ♥.
First to add more texture to my modeling paste base : torn serviette, some Tim Holtz tissue, scrim (muslin), and drywall joint tape :
Then some colour was needed. My first thought was purples, but I liked the grey that had come off the dirty stencil onto the modeling paste, and also the grey tonings in the serviette. Started with greyed purple spray, and thought some shimmer would be nice so added twinkling H2O in soft purple as well. 
Liked the shimmer so continued to add some more pearlescent paint in purple and soft green, then highlighted with silver iridescent
Here's how the page looked with my daily journaling slots added to the side
I was going to leave it there, but then decided I could add a word to my butterfly element - the journal prompt this week was "Rising to the occasion"
I used my black marks-all pencil and then smudged it with a blending stump to make it a bit grungy. And here's the completed page :
Click on the photo to enjoy it larger or see it in the Flickr album I've created for all my Documented Life 2015 spreads HERE. You can see all my posts about this project HERE.

Saturday, July 12, 2014

Fabric Banner

For my birthday in June, I had the wonderful gift of a play day with some creative girlfriends. We made some easy silk paper with cocoon strippings, oversprayed with colour and with serviettes embedded
and then it was time to settle to a project. I wanted to create a banner, and started with some fabric serviettes that came from my grandmother.
On the day I trimmed them to size
and had a wee play with layout
Love the turquoise colour scheme but I don't want to keep the serviettes the original colour so once home, I dyed some samples
You can see what I used above - method :: swipe the distress ink onto baking paper (you can see the used bit underneath the fabric) then spritz with water - it will make the distress ink bead up. Swipe the fabric over to soak up the colour. Luckily I captured what each was in my calendar journal :-)
So the first 2 samples were just the swiped distress inks method, but the second 2 were oversprayed. I let them sit for a few days while I tried to decide which effect I liked best, and then when I dyed the actual serviettes I used another combination!
Dry them flat - if you hang them, you will get dye running down away from the pegs. Here they are dry and ready for decoration
Experimenting with layout
This was happening in my calendar journal ::
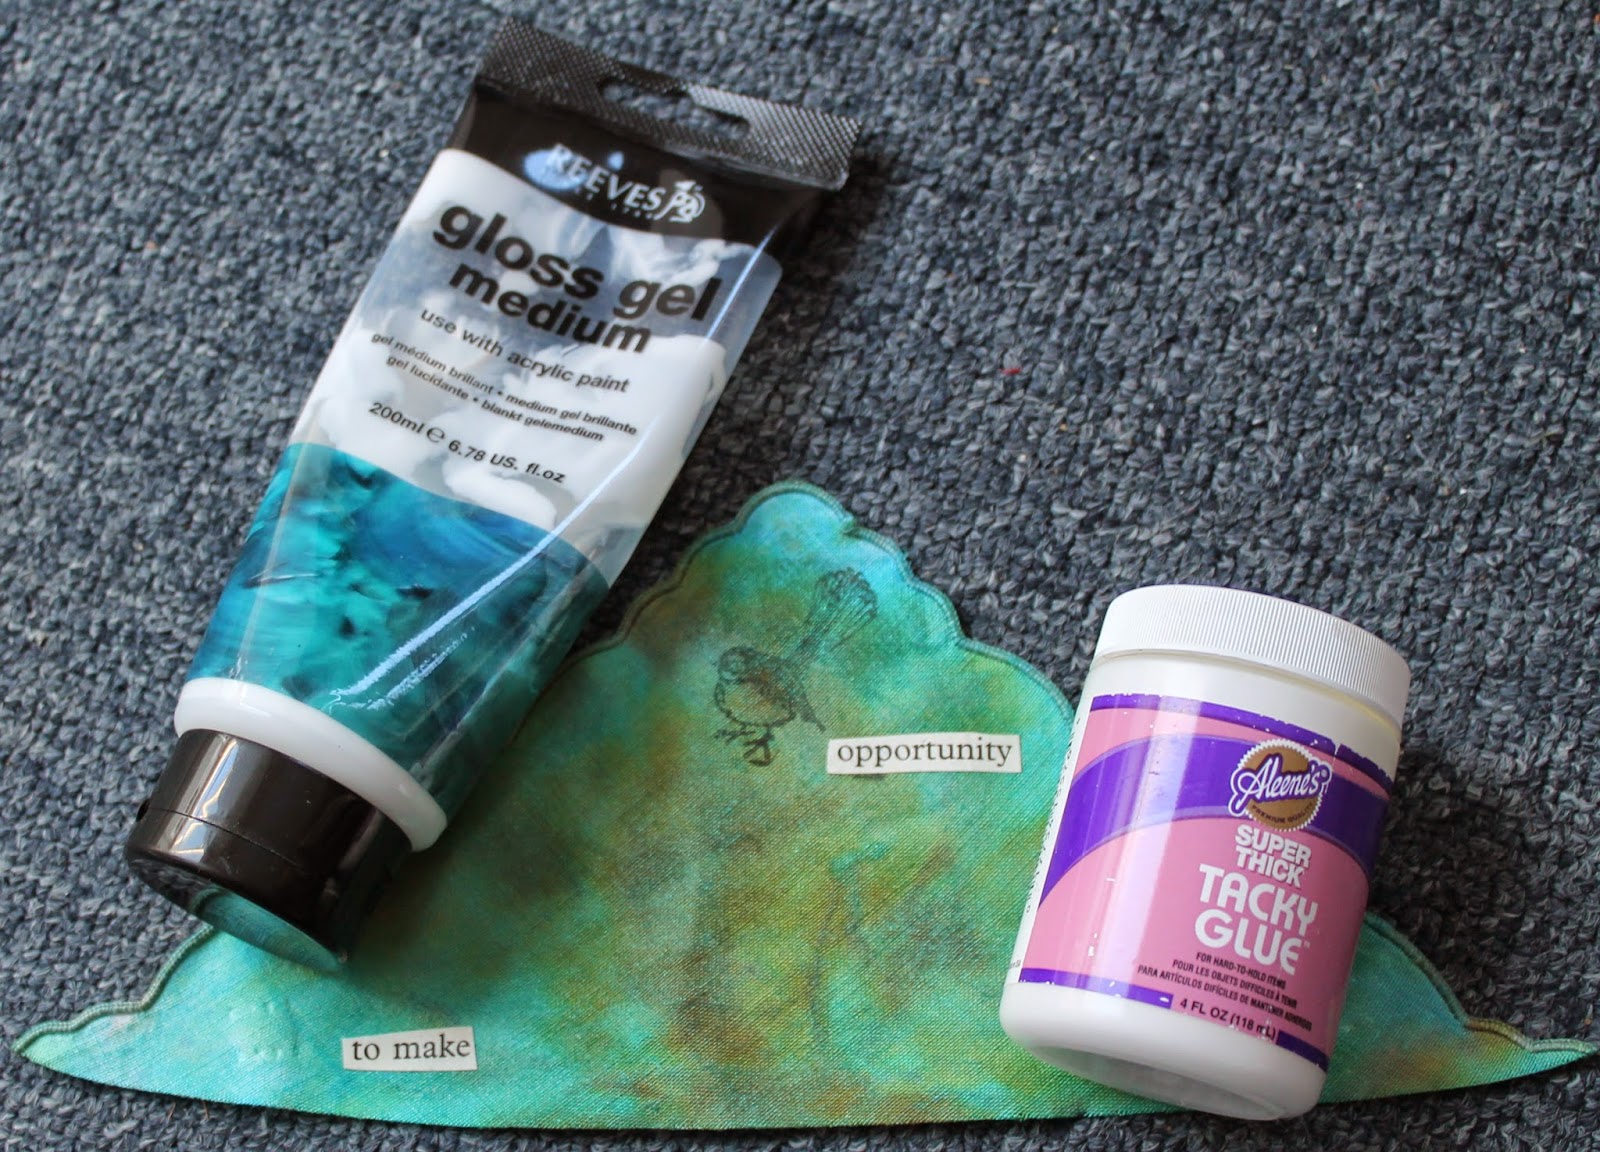
I love using found text from large print books in my work, and wanted to include them in the banner. Had another test using gel medium and tacky glue to see which worked best.
I liked the tacky glue under, and gel medium on top. A couple of the banners needed a little something extra, so out came the gold paint and stencils
The silk paper and serviettes adhered well with mistyfuse
I added a felt back using temporary fabric basting spray before I started stitching.
And here is the banner complete :-)
Click on any photo to see it larger
I took my original piece of silk paper and tore it in half. The left side appears in the first section and the right side in the 5th section of the banner.
Here are the individual sections up close, from left to right
The daisies were punched from cardstock that had been gelli printed some time ago
I enjoyed using a combination of machine, hand stitching and beads for different effects. I used staz-on ink for the fantail above and the butterflies below since I dyed over them, but the other stamp pad of the seed heads I didn't take note of since I won't be washing this piece.
So very happy with how this project turned out. Although it is my own original creation, I must give a nod to the initial inspirations which were a combination of Gentlework's Botanical Bunting, and this project
in Ruth Rae's lovely book
Related Posts Plugin for WordPress, Blogger...