Showing posts with label Modeling Paste. Show all posts

Friday, July 30, 2021

Wanderlust : Texture intrigue

Our next theme in Wanderlust 2021 is Texture. As usual, we started with an inspirational lesson from
Kasia and the following week was with Mystele. Kasia began by asking "What is your favourite texture?" and Mystele shared her favourite materials and applied them to a face. My work is usually very tactile so I knew I would love these lessons and decided to combine them in one spread. 
I started with lace, modeling paste through a stencil, masking tape, scrim, embossed card, recycled paper packaging, drywall joint tape 
and gesso. 
Very hard to restrain myself but my small Dylusions journal meant I had to edit. 
Colour from iridescent paints and some drippage with ink
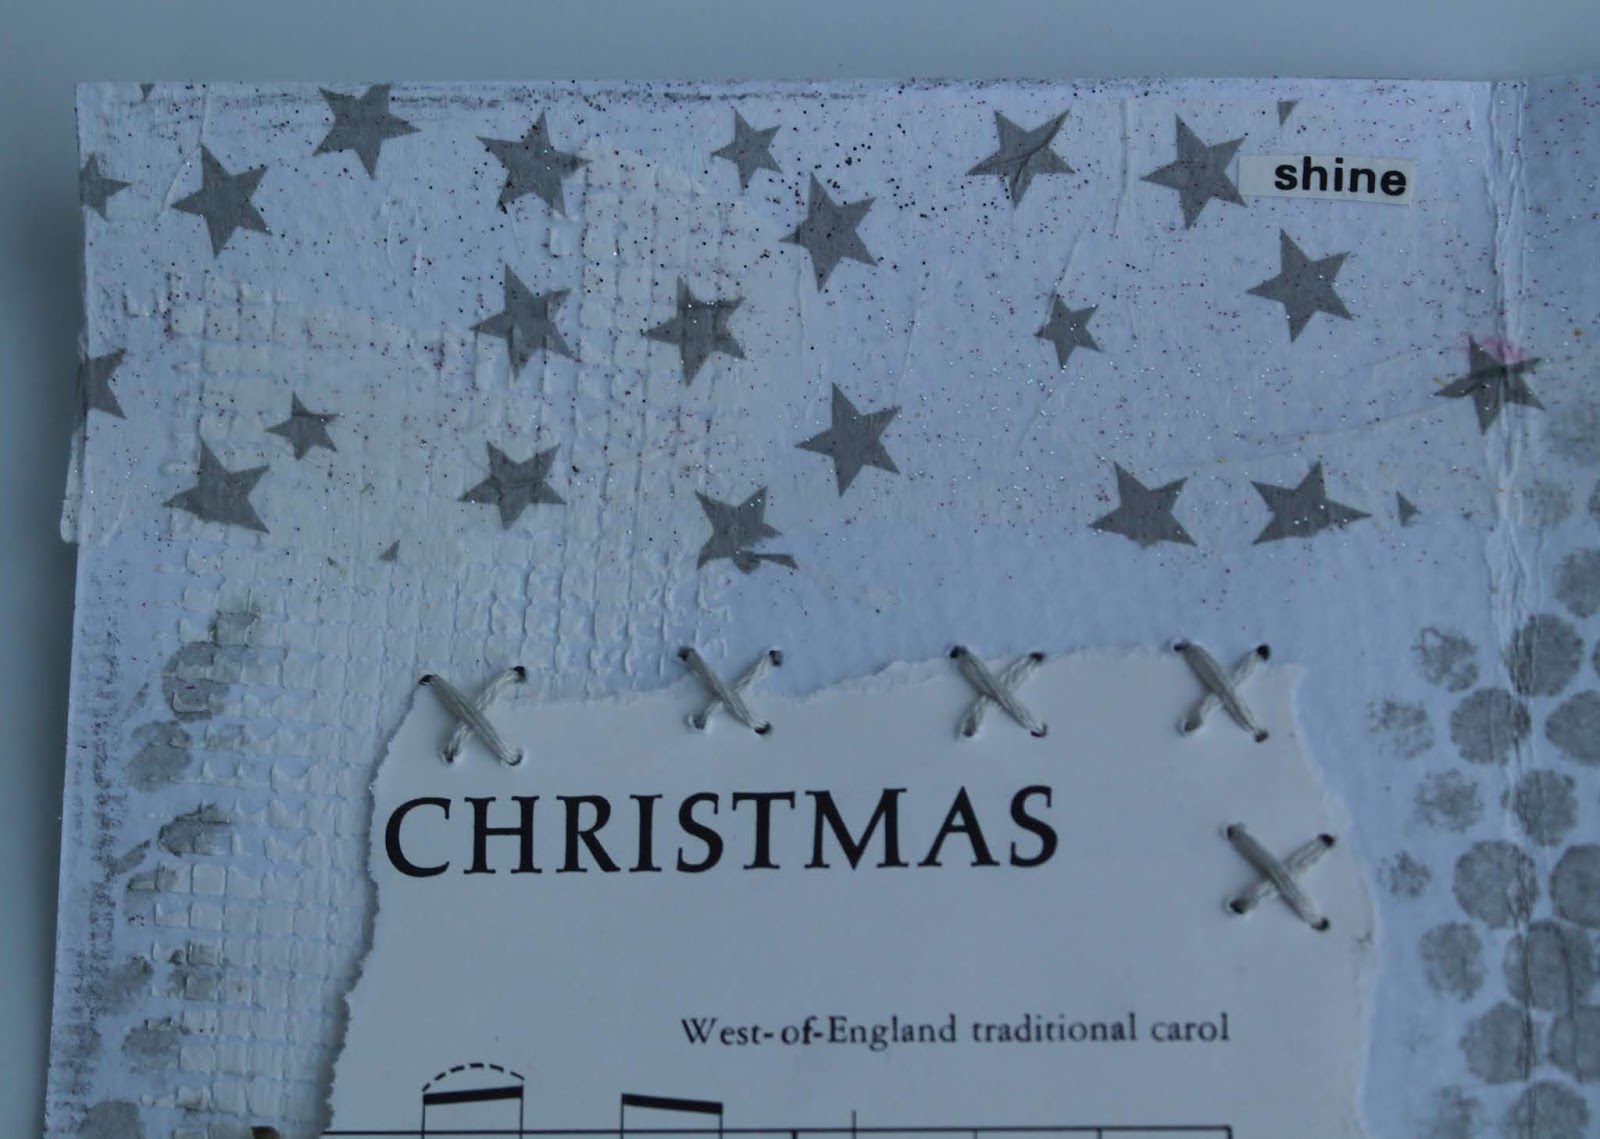
I was going to add a face (as per Mystele's lesson) when I realised that I had the perfect textured alternative in the form of one of my paper dolls which I shared HERE.
Added some sari ribbon and stitch additions to my figure, and then more texture to my background including metallic leaves, white paint through a circle stencil, some serviette printed with silver stars and found words to finish.
See all my other posts about this class HERE.

Wednesday, December 18, 2019

Christmas cards

Made some Christmas cards for work friends. I'll be making another set for a few special people, but gone are the days of making a batch of 20-30 to send out. I have an awesome bunch of work mates. Most of the women are friends outside work as well so I wanted to make some handmade cards. Begun when I sprayed through a stencil for the background for a journal page and then dabbed the ink off the top of the stencil randomly on folded card
I LOVED the white tree with modeling paste that I made for my white on white journal page so that came next
Finished with some twinkling H2O watercolour paint, a punched star and stamped words. They are fairly simple and I love their inky imperfection
Similar but each unique ♥ Click on the photo to see them really large.

Sunday, December 15, 2019

Kasia's Advent Calendar Journal : Days 6-8

Hi again - expect more regular posts from now on. Only 2 more work days for me and lots more creative time ahead. I am going to try and catch up on this project because I love it so much. This is how my journal looked this past Tuesday  after completing Day 6
Day 6 : White on White. This was really limiting the colour palette! I've been finding it hard to use black and white and silver as my base for my pages which was my original intention. There's a lot of pink and green so far because I just adore colour....this was my chance to play with textures instead of colour. First {too many!} gatherings
No chance this is going to be a one pager....Got carried away without process photos! The hardest thing was stopping before I overdid it. Some close-ups of the gorgeous texture before the reveal of the full spread
Subtle texture with modeling paste through drywall tape on the left, then placed the drywall on the right. Butterfly serviette. My word "SHINE"
More modeling paste - less subtle texture ♥ The hearts represent my husband and boys
Day 7 : Tea Time. I don't often drink tea, I'm usually a coffee girl. But I do have fruit teas and happily made myself a cup of peach and pineapple for this prompt. 
I used 2 tea bags so that I could colour my background and have plenty of tea bag paper to tear apart in that perfect lovely pink that fits right in with my colour scheme! 
I also knew I had some old tea bag tags that would be appropriate, and I've been saving those found words for the perfect project
First lovely layers (which I obviously didn't photograph after all!) then print a simple outline of teacup and saucer - lay on the back of your work and scribble trace with free-motion machine stitching. The bobbin is the thread that will show
I go over mine a 2 or three times to make it look really sketchy, but don't do too much or you cut through the paper. This is how it looks on the front
A little watercolour within the lines
Adding words and a little hand stitching
and the spread is complete
Day 8 : Snowflakes and Doilies. I live in New Zealand. Snowflakes just do not make sense right now, but doilies can be included and I liked Kasia's talk about being present in this moment. I decided to make this a gratitude spread. Began with a pink dylusions spray - WAY TOO PINK and a silver doily
Although I sprayed with workable fixative, this pink is so water reactive it comes through. I tried to tone it down with a mandala stencil which I thought fitted the doily idea but the white modeling paste quickly turned pink....I could either start again or just go with it. 
I added some tape, paper, found words, lace and then used some recycled circular tags as a setting for things I am grateful for right at this moment. I was able to machine stitch these down like hanging baubles
Some white and then green metallic paint for some less pink accents and I really wanted to call this spread done.  
But it wasn't. A break away from looking at it and when I came back I quite quickly found the elements that were needed to make me feel happy that it's finished now.
Find all my posts about this project HERE or just look at the photos in my Flickr Set.
I hope you are managing to fit in some time to do what fills you up with joy.

Tuesday, October 8, 2019

Book of Days : Texture love

Inspired by this month's lesson by Cristin Chambers in Book of Days this spread began with luscious modeling paste texture spread through stencils
I added my own style of face next (very influenced by Effy Wild's teaching) using a Stabilo All pencil with a combination of blending stump and water. Remember this is VERY water reactive so needed to spray with fixative before moving on
Although what I create is way different than Cristin, I love her style of teaching and enjoyed using inks around the page next
OMG the texture! Click on any photo to see it larger
Next day more stenciling in different colours - need to add more darks/lights for contrast but I'm feeling really happy with the direction this is taking
I love taking process photos so I can also see her face changing as layers are added ♥
Loving her. Thinking about what to add on the left, to add dark, and thinking about my style and wanting to include a NZ something led to the dark fern stencil
then repeating that colour a bit in the background before adding the stars
which led back to the star in her hair...and the found words came last. I think she is my favourite spread in my art journal this year ♥
You can still join us in Book of Days 2019 HERE and check out what's happening in 2020 HERE (excited!)

Wednesday, July 11, 2018

Altered Binder Journal Cover

Hi everyone - I'm in first week of school holidays. Feeling winter's blast and the frustration of not ticking enough things off my list! I just wanted to send a bit of encouragement in case you need it too. Things don't always go to plan - but out of frustration and chaos, you can end up with something unexpected and lovely. 
I started this altered binder project last week, and am so happy it's finally done. I've been participating in Effy Wild's Moonshine class this year, and while I haven't produced as many art journal pages as I may have liked, there is a lot of written material which I read every month and learn a great deal from. I altered this folder at the beginning of the year, and use it to store all my class notes as well as other useful related info. I've reached the point where I need another folder....
I love altering book covers, so launched in with enthusiasm, beginning the same way as last time with collage, paint, stencils 
modeling paste, serviettes
but it all became too much! I love some of the details
but you have to isolate bits for it to not be too overwhelming. I was paralysed with not knowing how to take any steps to fix it. I knew I needed to cover up some stuff, but that's really hard for me. It took me several days feeling stumped and frustrated before I decided to go back to treating it as a folder instead of a journal spread. This made it much more managable to tackle in smaller sections. Began with the back cover since I figured I won't look at that much anyway if I completely mess up! Love that white modeling paste above, so went with adding more white paint through a couple of lovely stencils
- feels magical enough for a back cover so I decided to move to the spine and be inspired by what I did on my first binder
I decided to add the same printed heading but cut the rest of the date off since this is my part 2 folder. And then I realised I needed some of those butterflies too (they are paper serviettes)
And now it seems obvious that what I need on the front is more contrast of dark and light 
On the original folder I got that from using my Pebeo iridescent blue black and touches of gold. I ended up using the blue black (which actually looks more like a purple) around the entire border of my folder and I like the modeling paste much better gold than pink ♥
I used my cool stencil from StrumpetStencils 
to add words
and the moon and some stars - highlighted with gold pen and white dots for extra sparkle and shine
and this is the cover spread complete. Click on any photo to see it larger.
My life right now is a bit chaotic, a bit crazy, but always full of colour and I try to inject SHINE wherever I can, so I guess this is art representing life ♥ 
To see all the altered book cover ideas I've shared with you on the blog click HERE.
Related Posts Plugin for WordPress, Blogger...