Saturday, July 12, 2014

Fabric Banner

For my birthday in June, I had the wonderful gift of a play day with some creative girlfriends. We made some easy silk paper with cocoon strippings, oversprayed with colour and with serviettes embedded
and then it was time to settle to a project. I wanted to create a banner, and started with some fabric serviettes that came from my grandmother.
On the day I trimmed them to size
and had a wee play with layout
Love the turquoise colour scheme but I don't want to keep the serviettes the original colour so once home, I dyed some samples
You can see what I used above - method :: swipe the distress ink onto baking paper (you can see the used bit underneath the fabric) then spritz with water - it will make the distress ink bead up. Swipe the fabric over to soak up the colour. Luckily I captured what each was in my calendar journal :-)
So the first 2 samples were just the swiped distress inks method, but the second 2 were oversprayed. I let them sit for a few days while I tried to decide which effect I liked best, and then when I dyed the actual serviettes I used another combination!
Dry them flat - if you hang them, you will get dye running down away from the pegs. Here they are dry and ready for decoration
Experimenting with layout
This was happening in my calendar journal ::
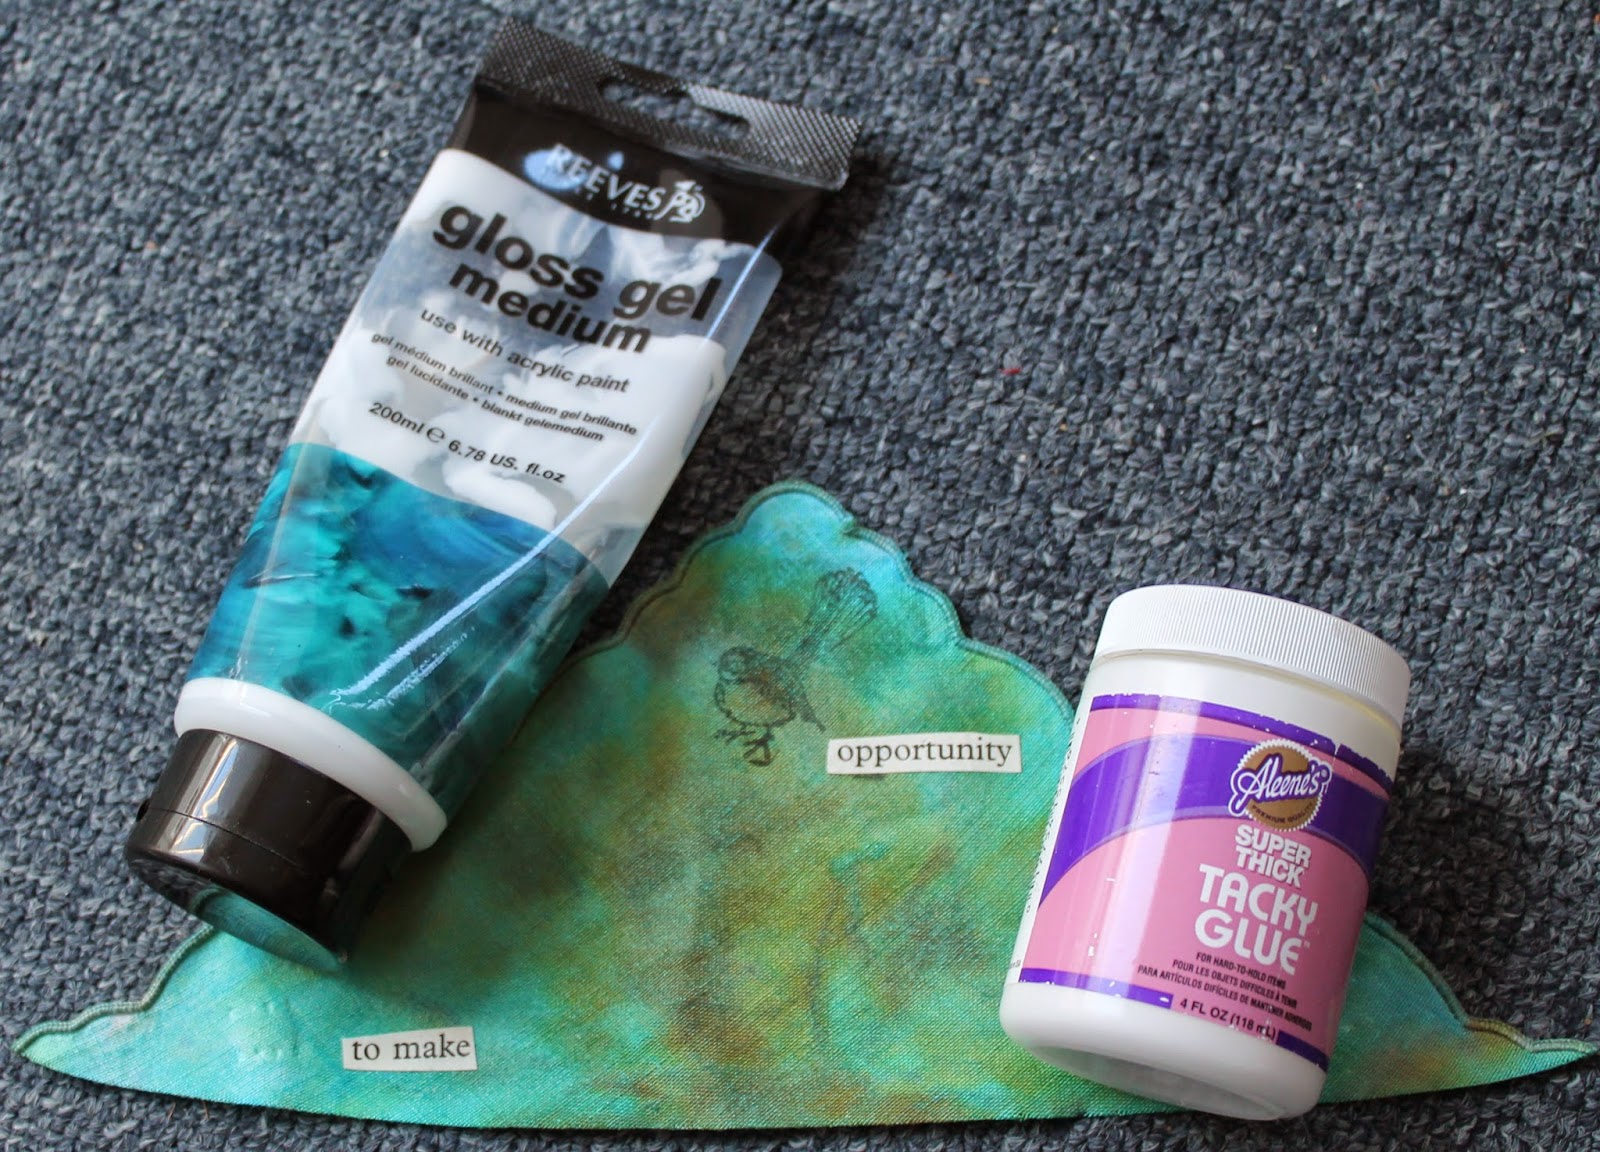
I love using found text from large print books in my work, and wanted to include them in the banner. Had another test using gel medium and tacky glue to see which worked best.
I liked the tacky glue under, and gel medium on top. A couple of the banners needed a little something extra, so out came the gold paint and stencils
The silk paper and serviettes adhered well with mistyfuse
I added a felt back using temporary fabric basting spray before I started stitching.
And here is the banner complete :-)
Click on any photo to see it larger
I took my original piece of silk paper and tore it in half. The left side appears in the first section and the right side in the 5th section of the banner.
Here are the individual sections up close, from left to right
The daisies were punched from cardstock that had been gelli printed some time ago
I enjoyed using a combination of machine, hand stitching and beads for different effects. I used staz-on ink for the fantail above and the butterflies below since I dyed over them, but the other stamp pad of the seed heads I didn't take note of since I won't be washing this piece.
So very happy with how this project turned out. Although it is my own original creation, I must give a nod to the initial inspirations which were a combination of Gentlework's Botanical Bunting, and this project
in Ruth Rae's lovely book

Thursday, July 10, 2014

Watercolour Calendar Journaling

I posted the above page when I decided to stop blogging, but I kept on calendar journaling. My next page started with a lovely piece of tissue paper that I'd printed on in a gelli printing session last year.
I tore it to use as a feature and a little to frame the page. 
I like the look of the different pens for the different days, but I think I prefer colour in my backgrounds. Quite happy with how the spread looks overall.
As time went on, I was in a funny space of being busy and having lots of creative ideas, but not having the energy to action them. I was hugely frustrated because our computer was out of action and it was interesting how that affected my creativity. 
It wasn't that I wanted to look at other peoples' blogs, but that I couldn't print photos, couldn't save creative things from emails to my computer, Alisa Burke's new Flower Power class started and I couldn't do it....So I started my pages and left gaps for photos to be uploaded later and that affected my creative energy too. This was the right hand spread "finished" once the photos were printed, but I wasn't satisfied.
I actually came back to this page when I got my mojo back properly and added to my month title.
That's more me, and the final spread looks cohesive, but you'll see a change when I show you my June pages and am inspired by birthday month :-)  
PS This post confirms why I love to blog. It's the self-talk in my head that I now have a permanent record of, and hopefully there might be some inspiration in there for you too...See you again soon

Wednesday, July 9, 2014

I'm Back!!

I missed blogging...At first I thought it was just because I've been doing it so long and it's a habit that's hard to break
but I miss all the advantages of having a blog where I can easily look back on the steps I've been taking on my creative journey. I love having all my process linked together with my thoughts, my methods, my progress photos - like here
or here.
I miss having easy access when I think "how did I do that?" and then I can find it here
- and I miss having the direct links to other blogs where I found my inspiration or instructions. The practice of blogging captures all the ways I'm being creative
My daily calendar journaling practice is great and I still love it (will catch you up on that in later posts) but it's just not the same as blogging. And of course I miss connecting with you!  I often have this on my mind :
BEFORE YOU PLOP DOWN IN FRONT OF THE TV OR COMPUTER - GO TO YOUR {PLACE WHERE YOU STORE YOUR CREATIVE STUFF} AND REMIND YOURSELF WHAT YOU REALLY WANT TO BE DOING

When I stopped blogging it did get me off the computer looking at everyone else's work
but I also had days when I didn't create much because life just got in the way.
So....I'm still going to take that message to heart and I'll keep creating instead of watching screens. I'll share my creative journey here as it happens. And when you don't see me, I'll be creating until I'm ready to show you, or getting on with life until I'm ready to create and show you :-)
Of course this post is a signal that I've got new things to share, so hopefully there are still some of you out there who want to catch up on what I've been doing and I'll see you very soon.
Related Posts Plugin for WordPress, Blogger...